Displaying Item Columns in the Delivery Template
Usually, only item names and quantities are included in the delivery note. However, you can display additional data, such as the item description in the delivery note, by adding some of the data from the invoice to the delivery note template you are using.
In this guide, we will show you how to display the desired invoice item columns in the delivery note.
Displaying Item Columns in the Delivery Note Template
If you have used the delivery note template before on the system, you will find it under the “Invoice/Estimate Layouts” templates. If this is your first time, you should follow these steps.
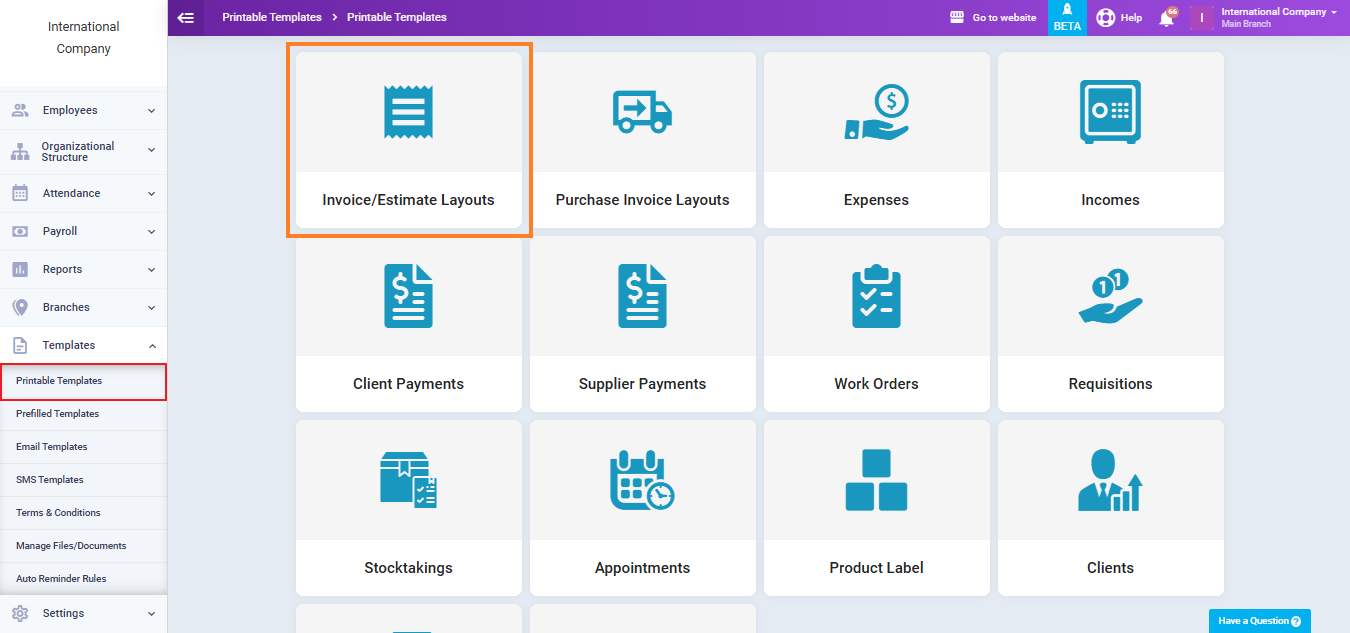
Click on “Printable Templates” under “Templates” in the main menu, then click on “Invoice/Estimates Layouts.”
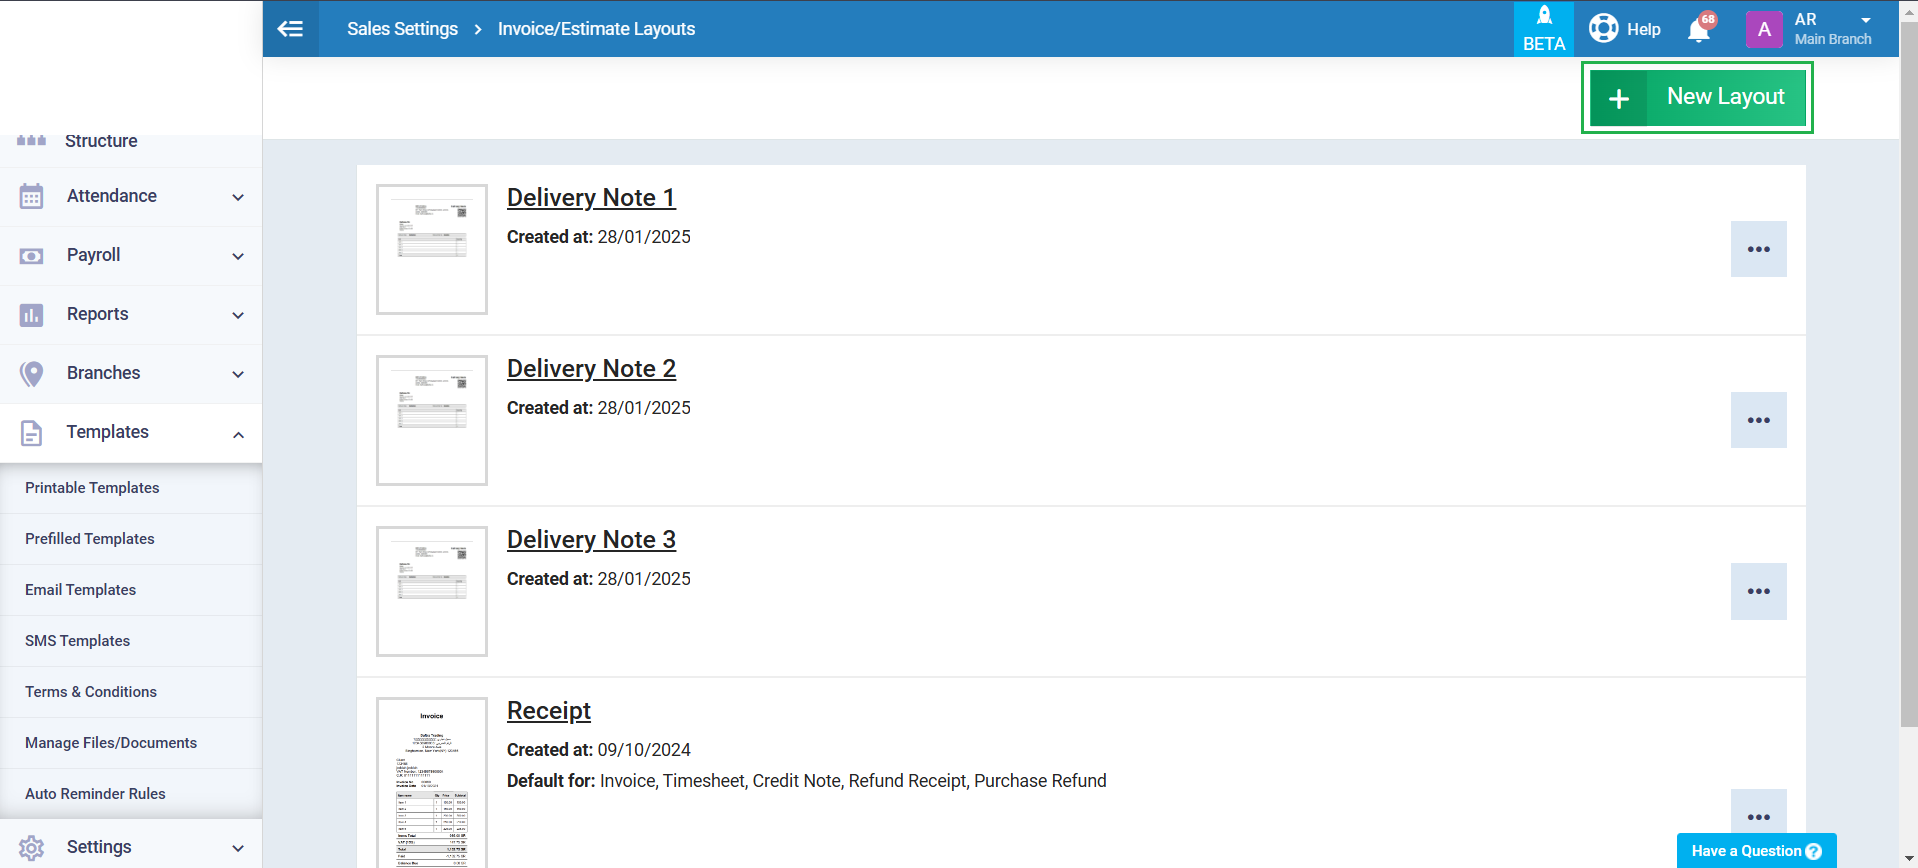
Then, click on the “New Layout” button.
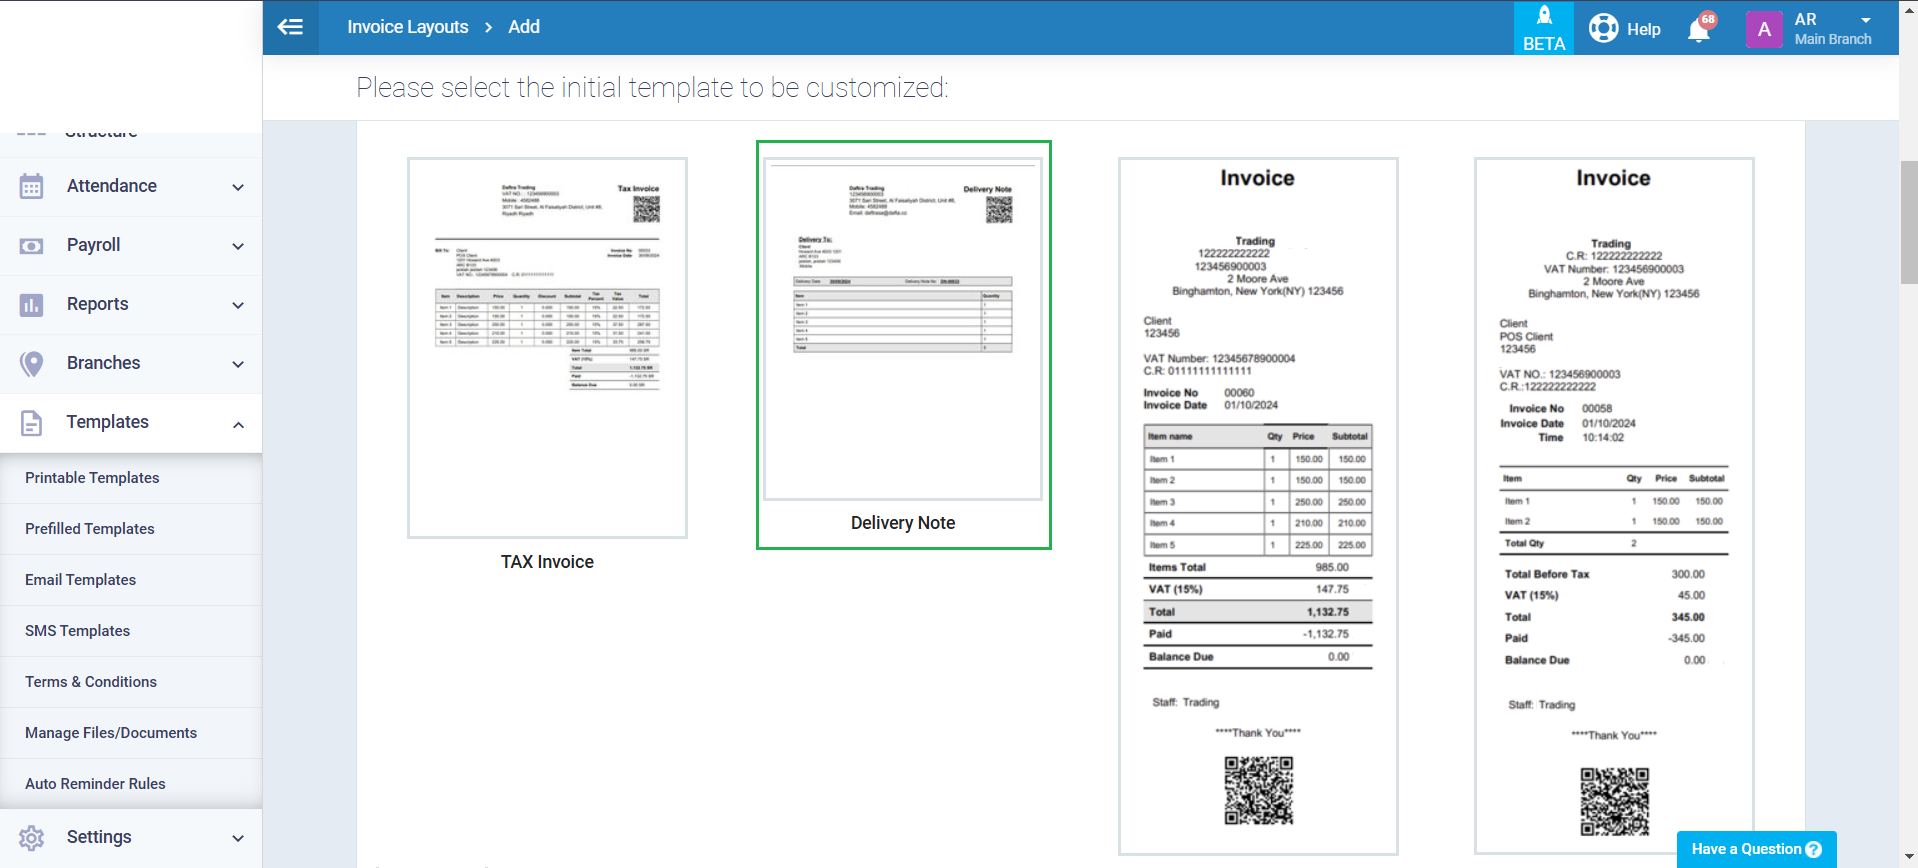
Then, click on the “Delivery Note” template so that you can later find it under the “Invoice/Estimates Layouts,” templates once you click on it.
Preview the Delivery Note's Default Fields
To view the default layout of the delivery note fields without any modifications, follow these steps:
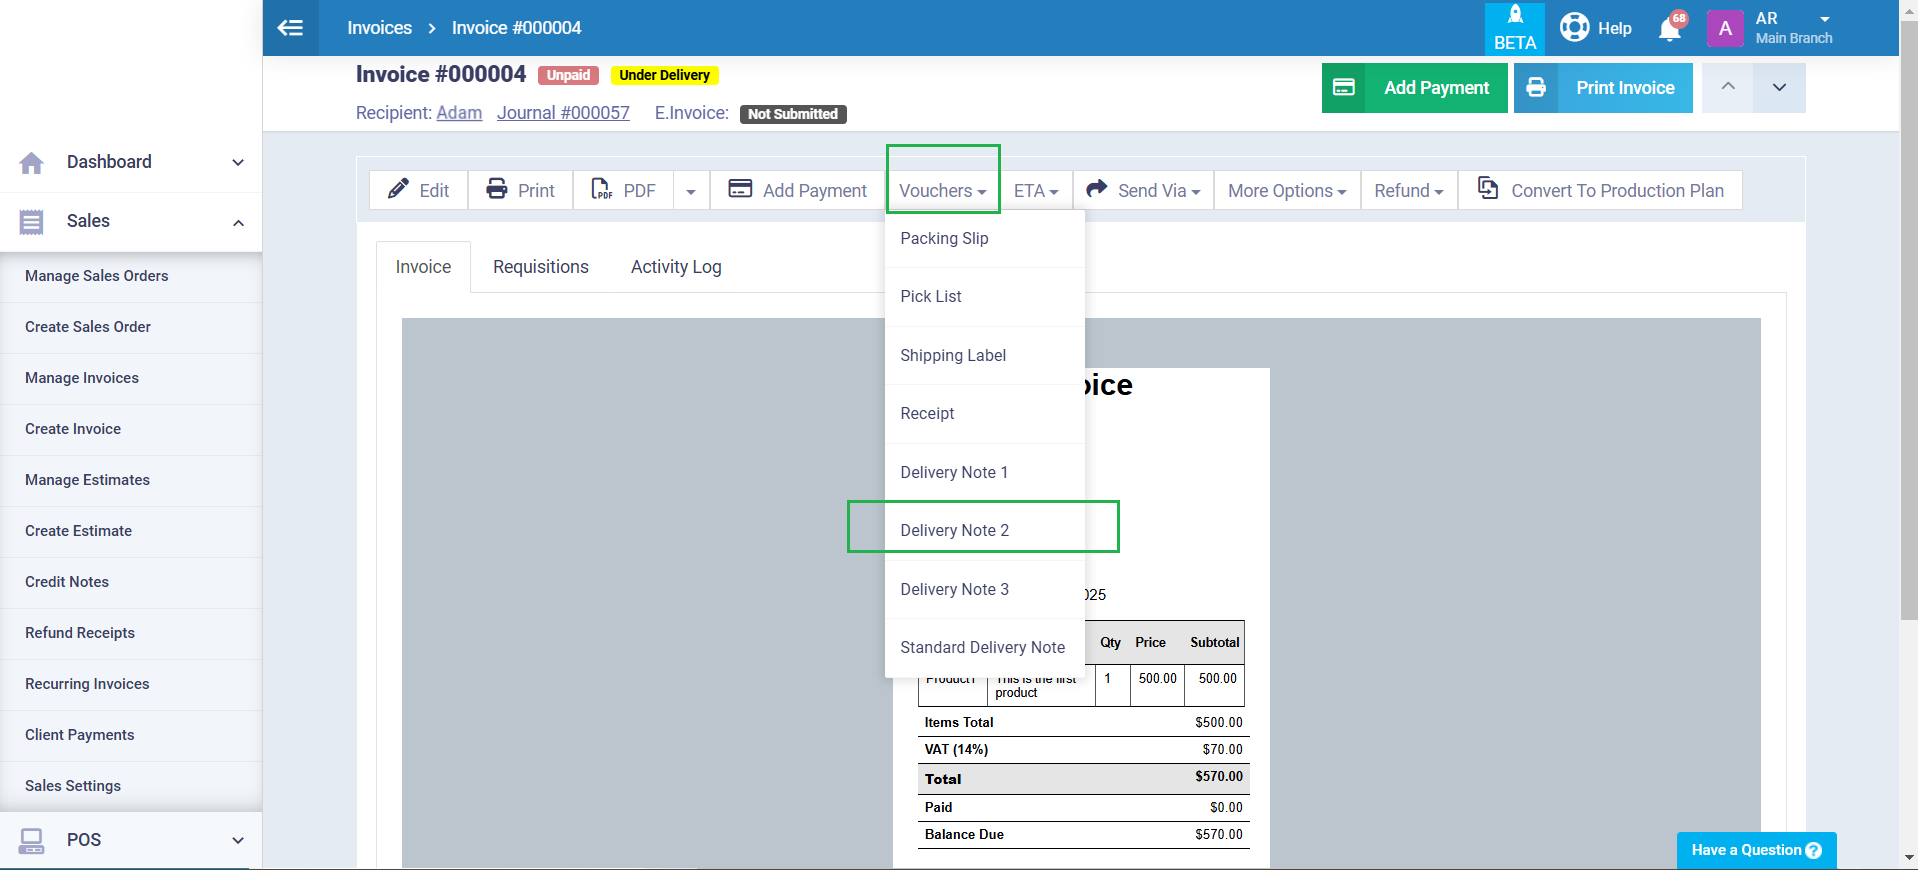
Click on “Manage Invoices” under “Sales” in the main menu. Then select the invoice for which you want to display the delivery note fields. Next, click on “Vouchers” and choose from the drop-down menu the delivery note template that you have not made any modifications to.
In our current example, we have named it “Standard Delivery Note.”.
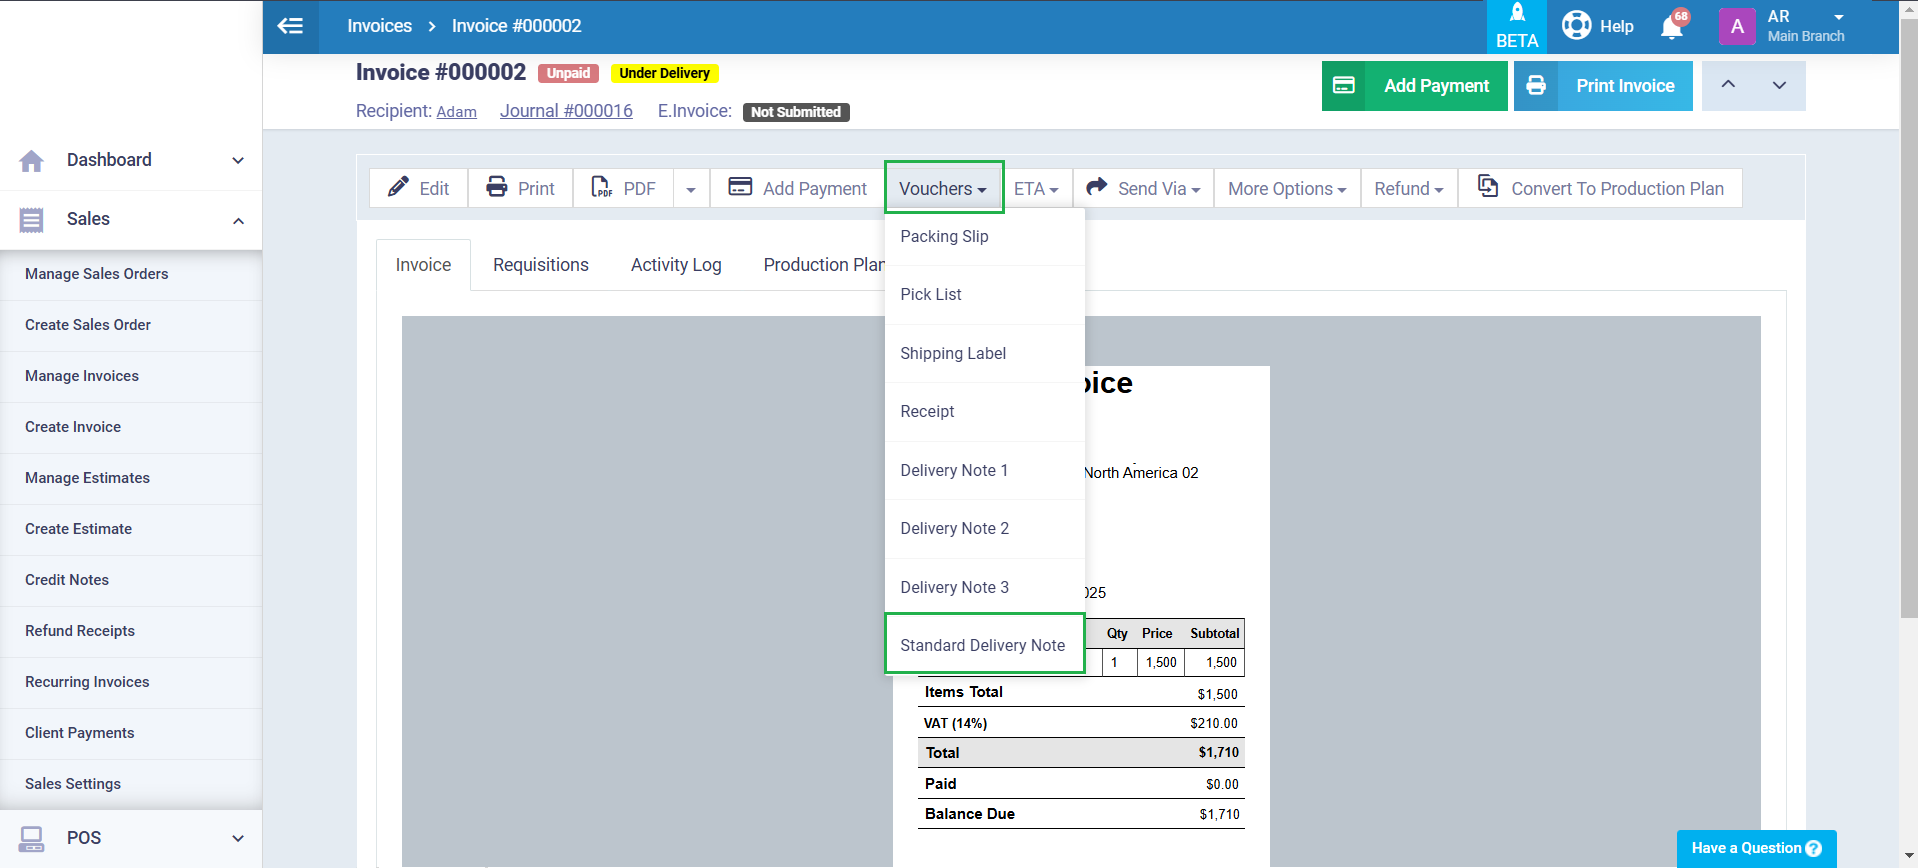
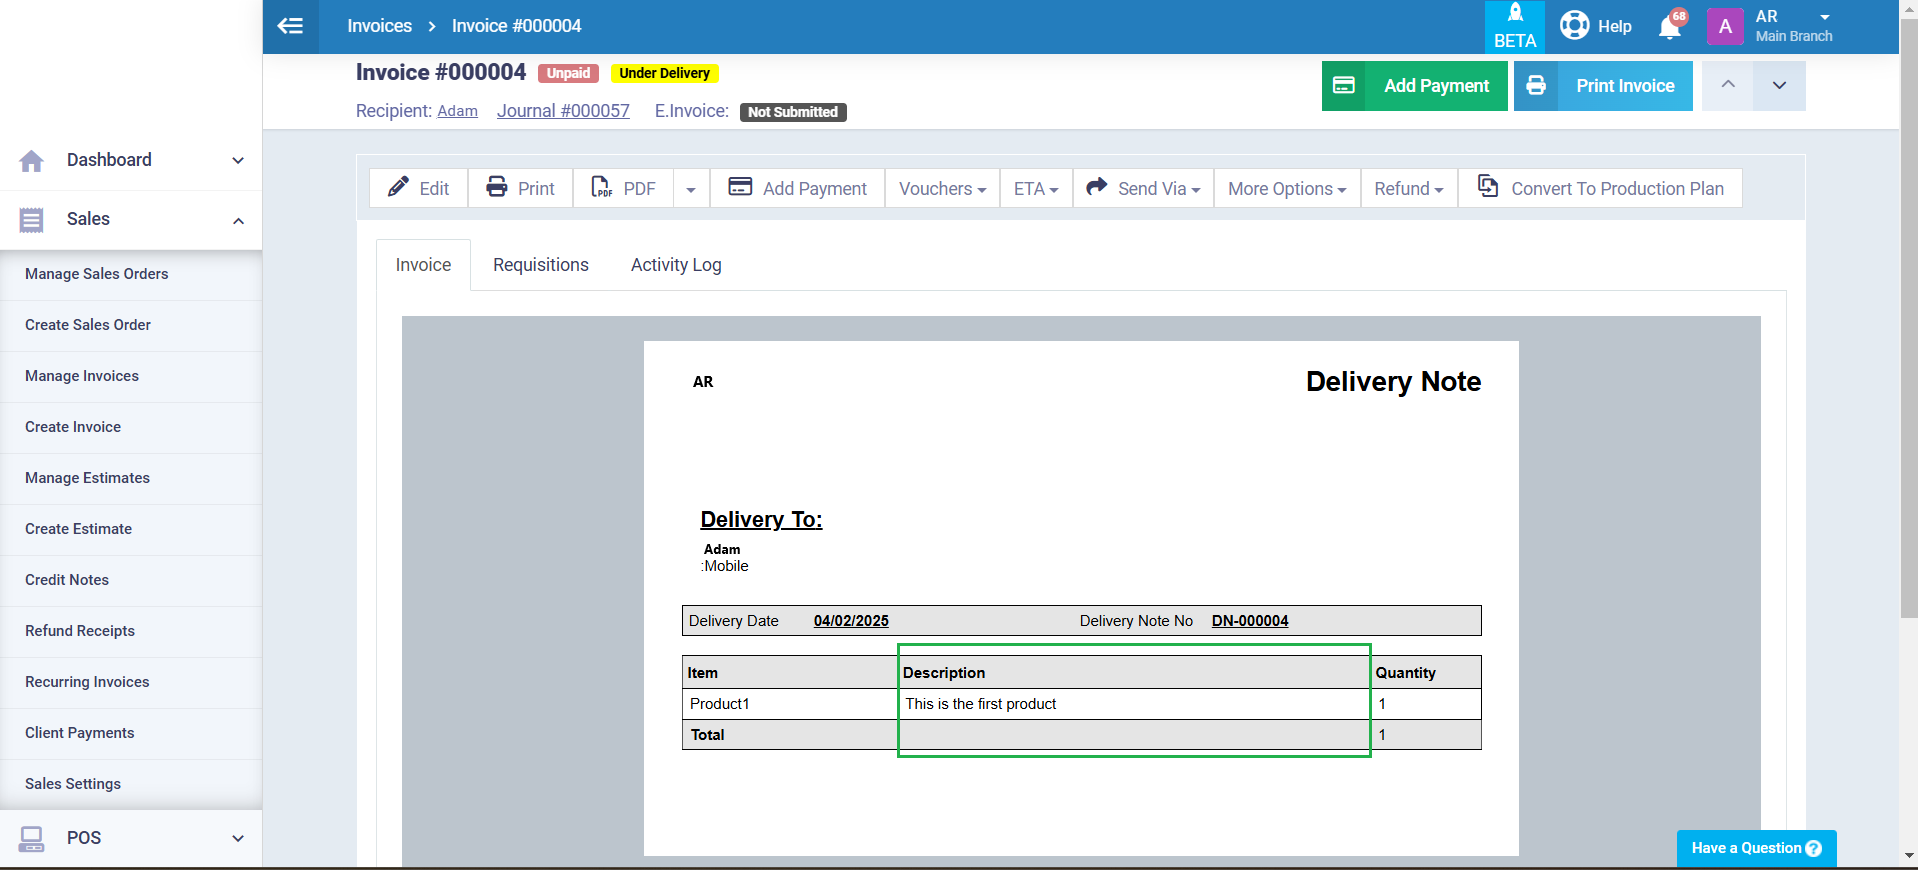
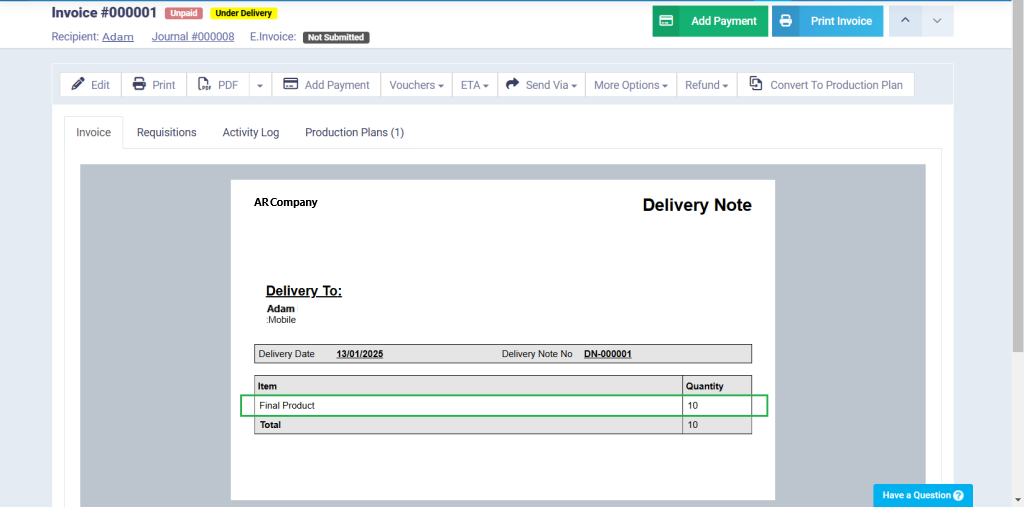
The delivery note will appear, including only the item name and quantity, without displaying any other details related to the items.
Displaying Additional Field in the delivery note
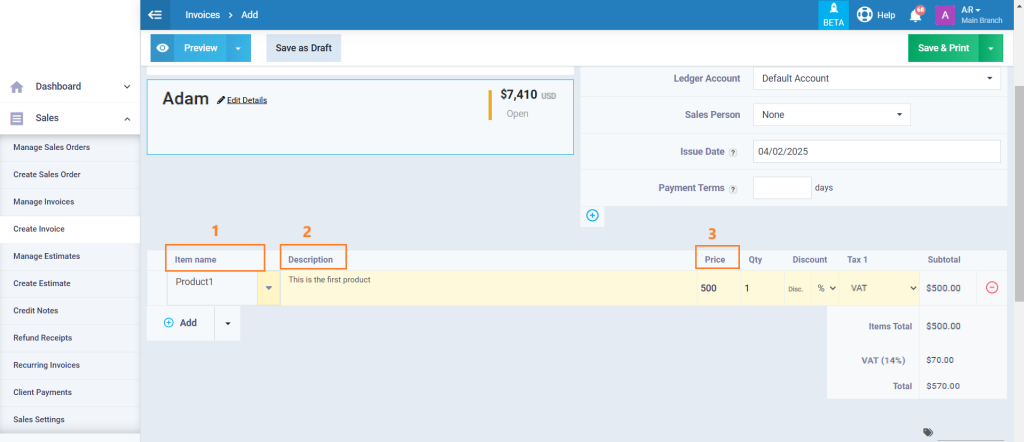
Create a new invoice by clicking on “Create Invoice” under “Sales” in the main menu, or preview a previous one by clicking on “Manage Invoices” under “Sales” in the main menu, then click on the three dots next to the invoice and select “Edit.”
Notice the items section, where you will find the “Item” field, which is numbered (1), followed by the “Description” field, which is numbered (2), and so on in order.
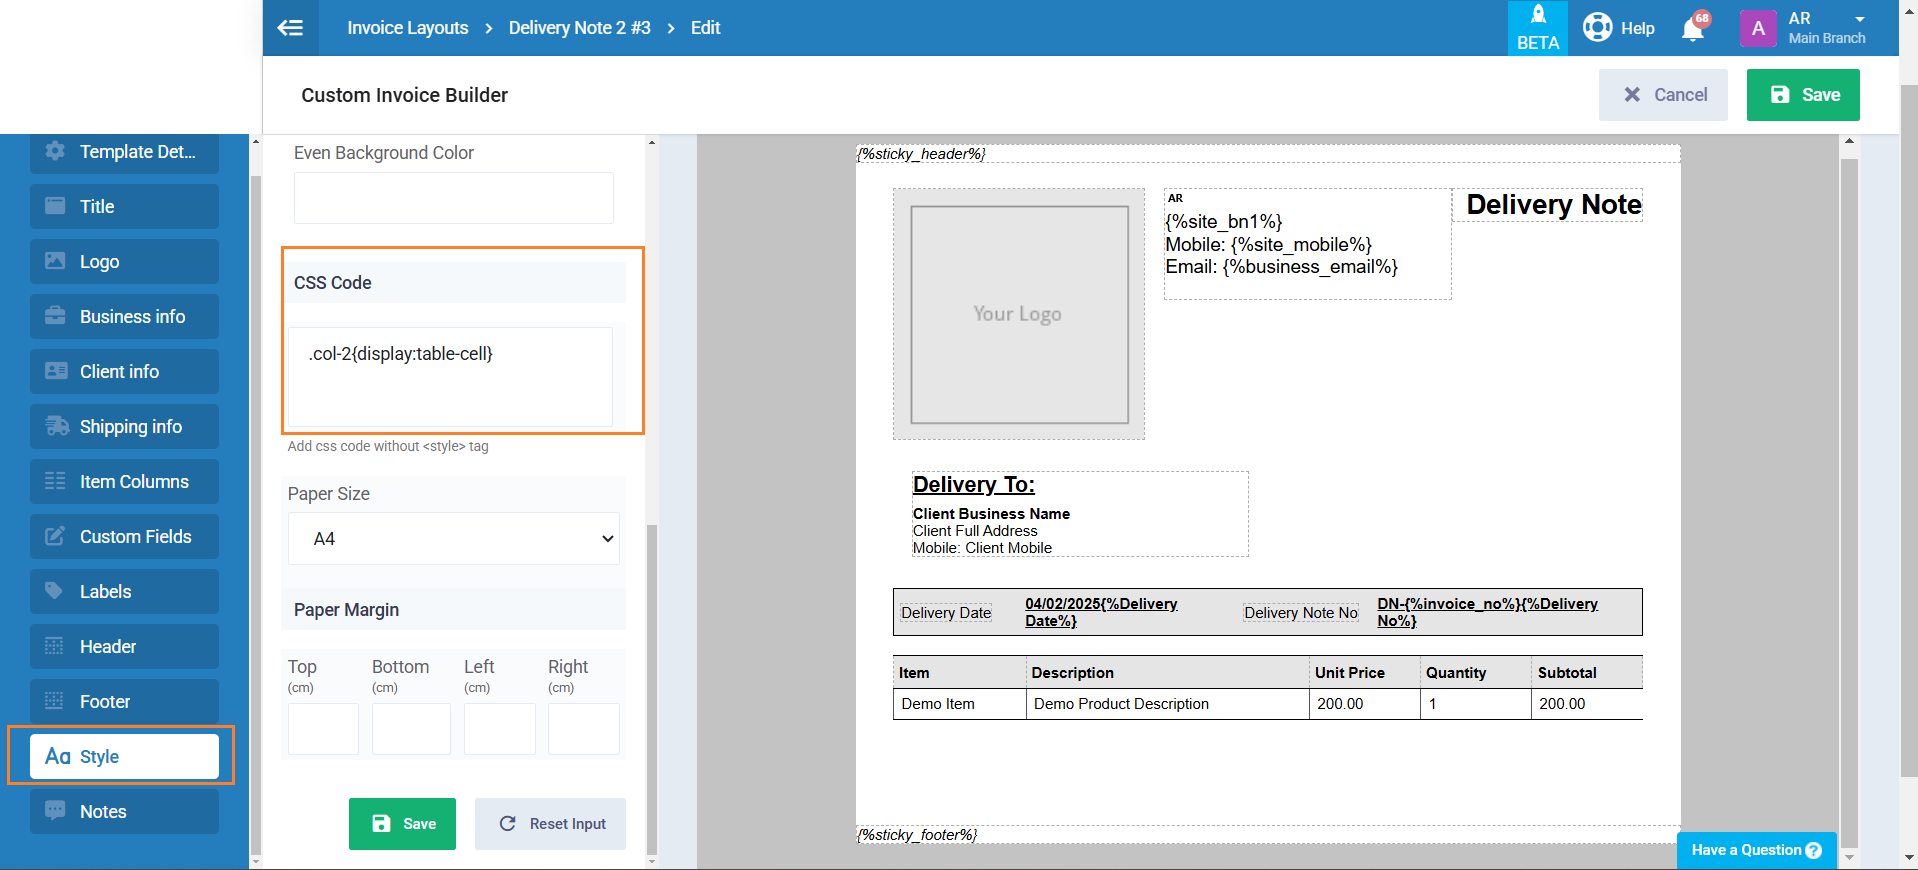
You need to identify the column number of the field you want to display according to this order. In our example, we want to display the “Description” field in the delivery note, and this column number is (2).
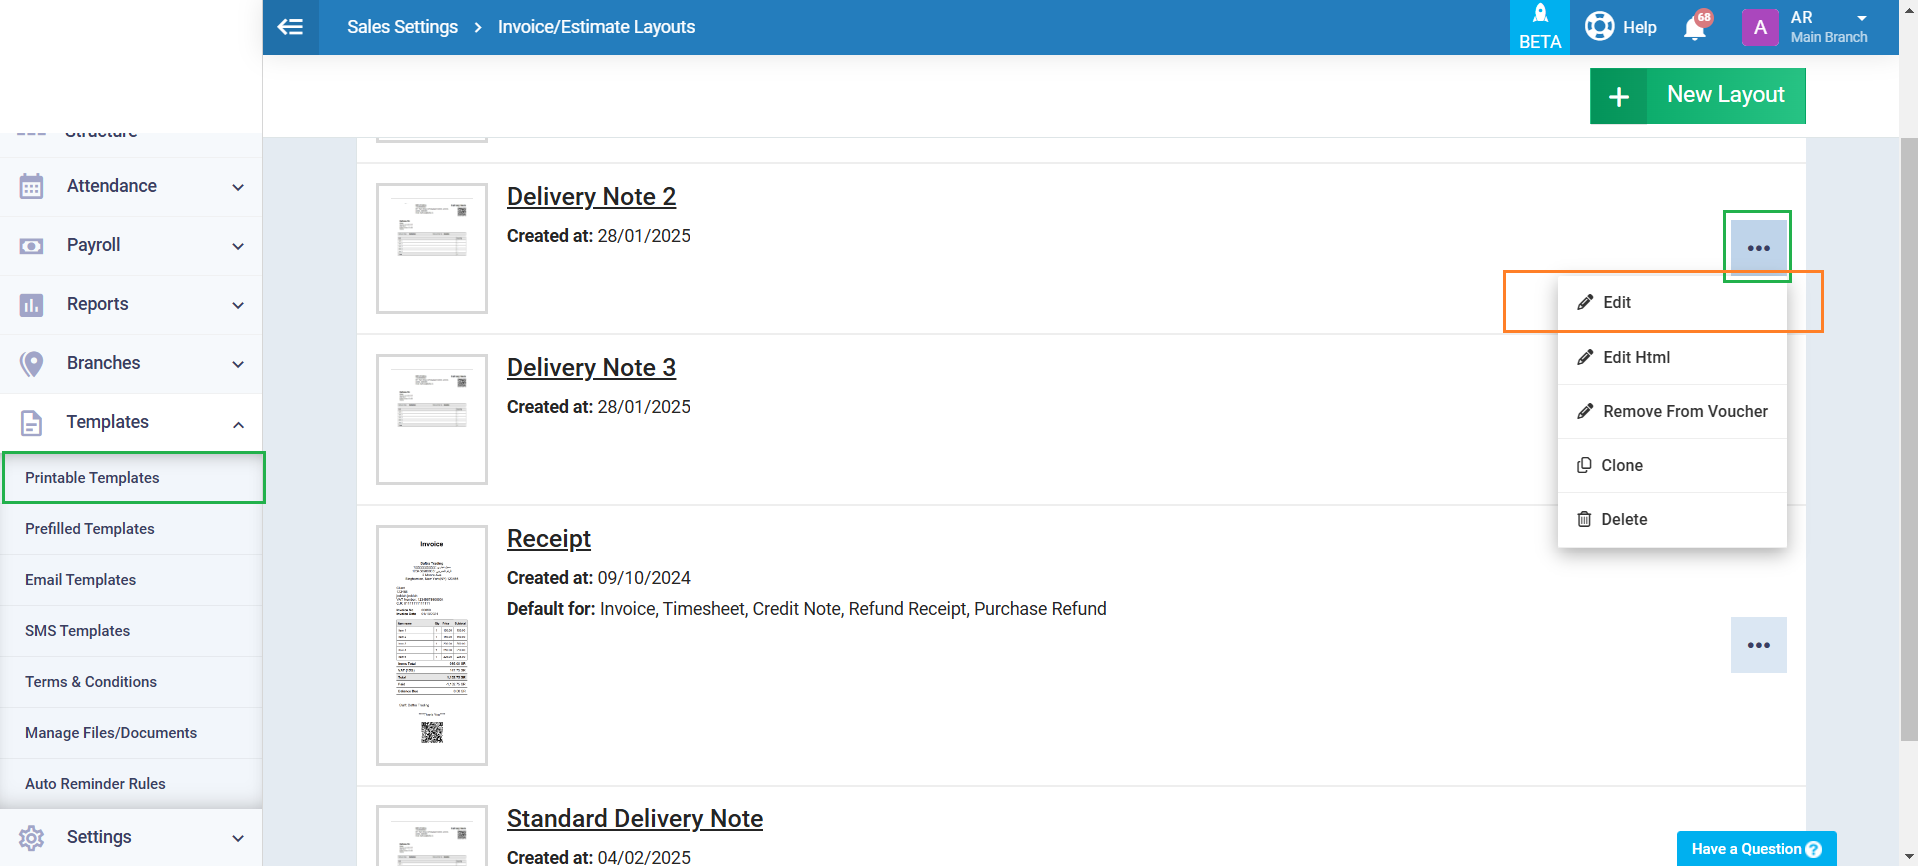
Then, go to “Printable Templates” under “Templates” in the main menu, click on “Invoice/Estimates Layouts,” click on the three dots next to the delivery note template where you want to display the additional field (column), and click on “Edit.”
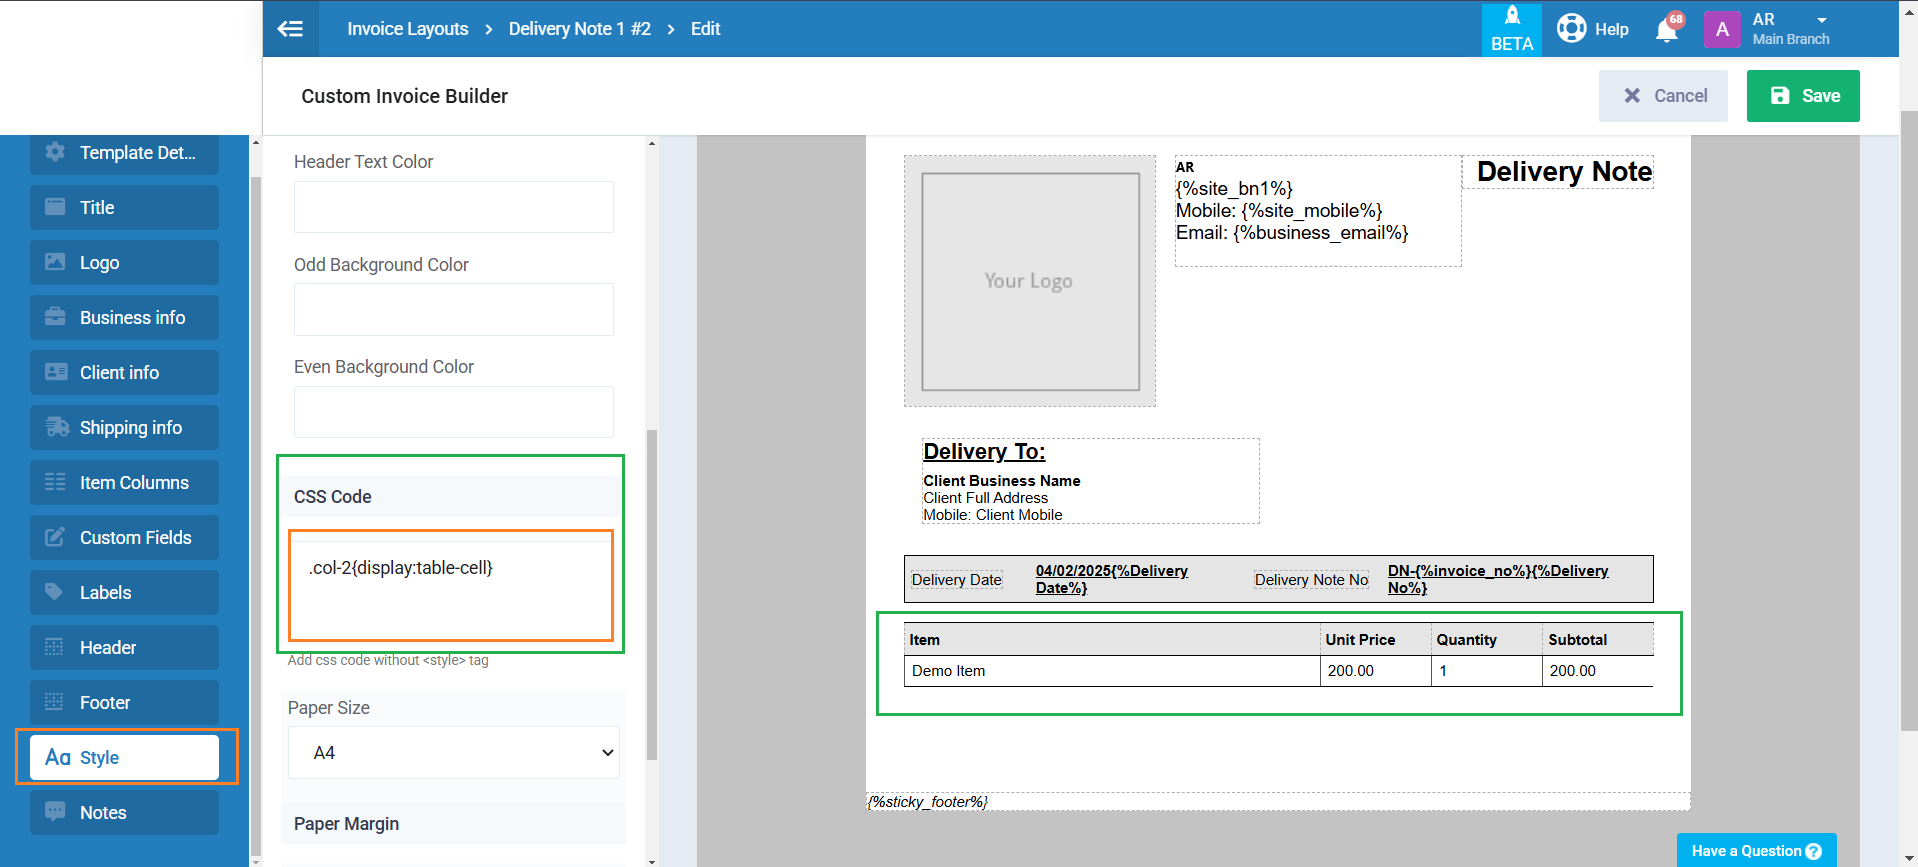
.col-2{display:table-cell}
