


Complete Employee Asset Lifecycle Guide
The system allows you to manage employee assets completely, starting from setting up asset types, physical locations, and warehouses, through adding and assigning assets to employees, and ending with maintenance and retirement processes. This guide explains all the steps required to complete the employee asset lifecycle correctly.
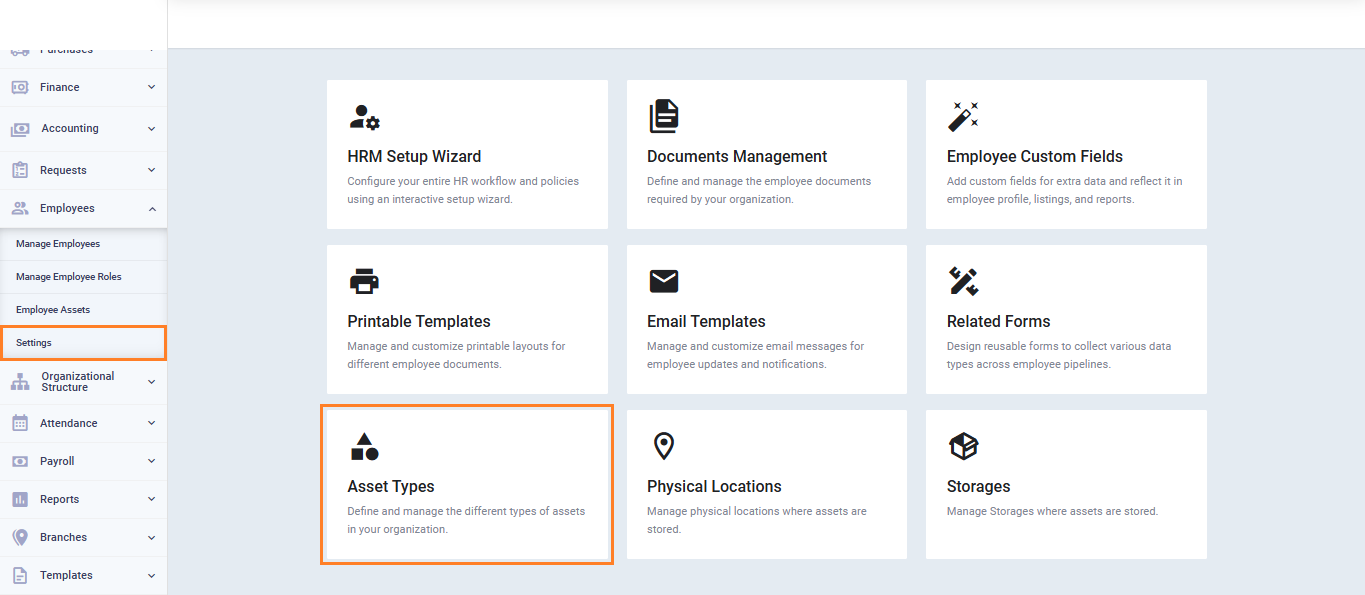
Before You Start: Configure Employee Asset Settings
Before adding assets, you need to configure three main elements: asset types, physical locations, and warehouses.
Add Asset Types
- From the main menu, click “Employees“.
- Click “Employee Settings“.
- Select “Asset Types“.
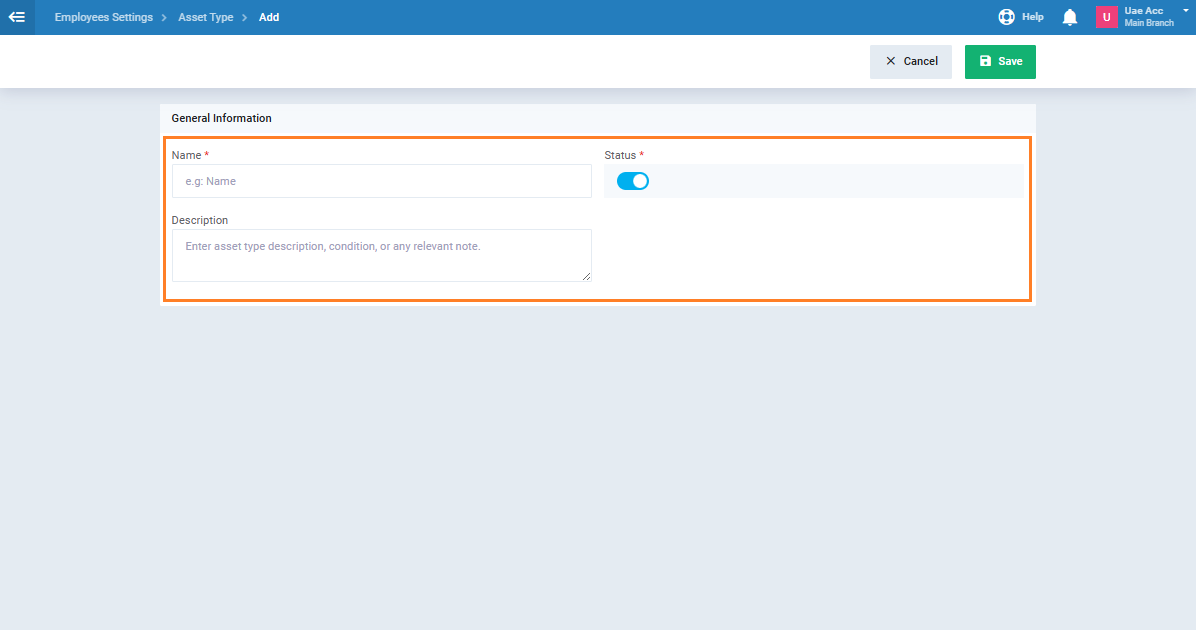
- Click “Add Asset Type“.
- Enter the asset type “Name” and description.
- Make sure the status is set to “Active“.
- Click “Save“.
Add Physical Locations
- From the main menu, click “Employees“.
- Click “Employee Settings“.
- Select “Physical Locations“.
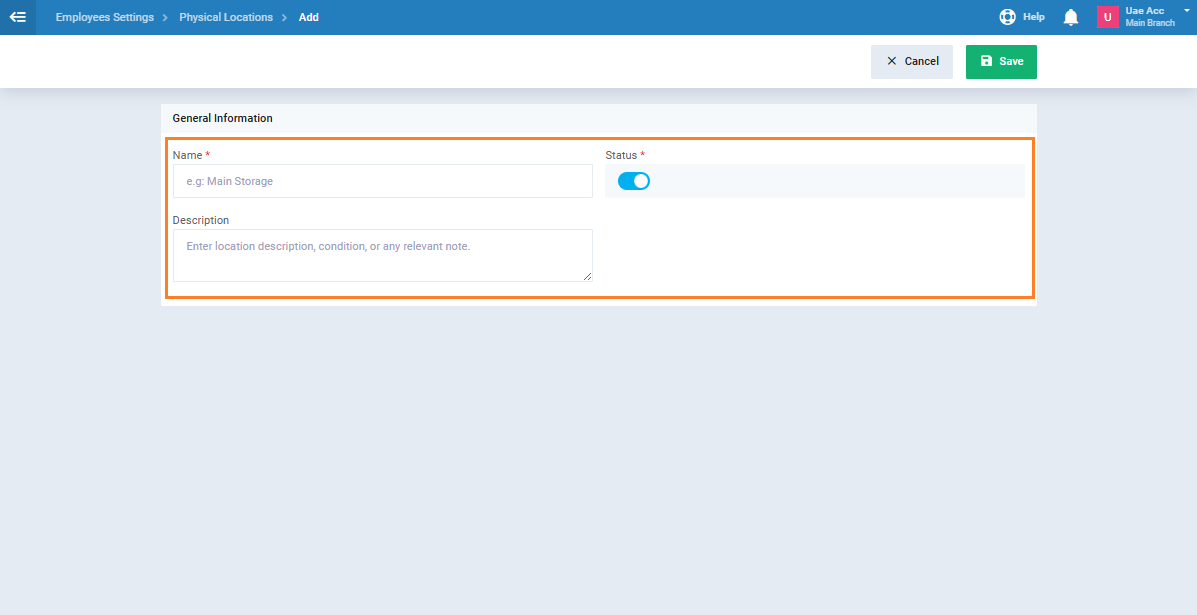
- Click “Add Physical Location“.
- Enter the location “Name” and “Description“.
- Make sure the status is set to “Active“.
- Click “Save“.
Add Storage
- From the main menu, click “Employees“.
- Click “Employee Settings“.
- Select “Storage“.
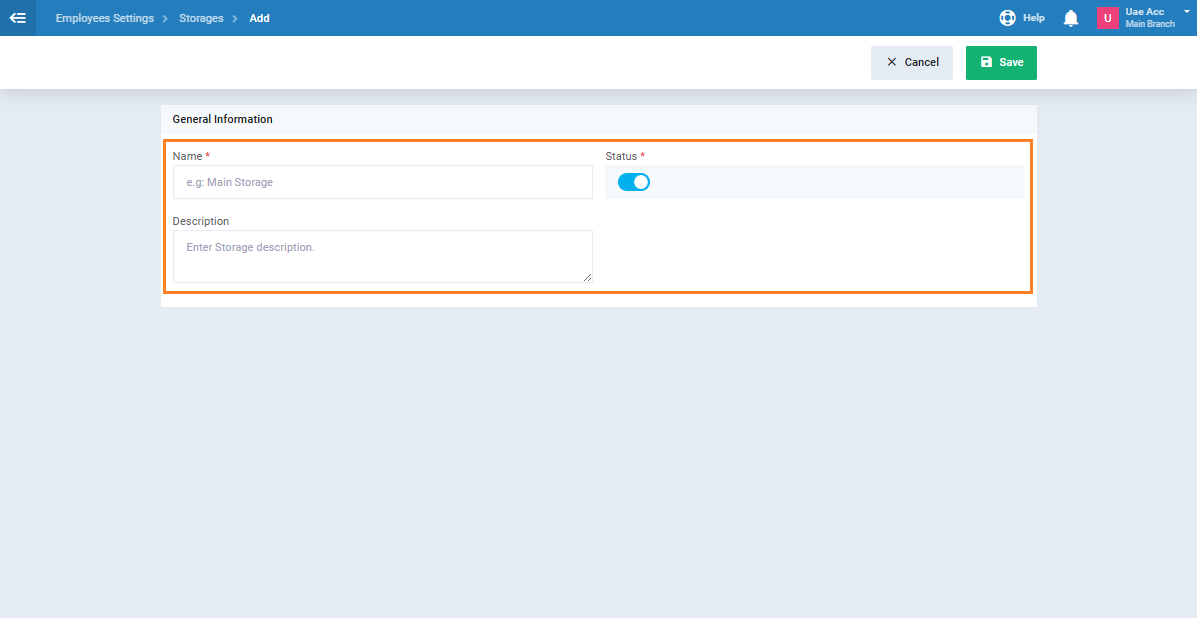
- Click “Add Storage“.
- Enter the “name” and “description“.
- Make sure the status is set to “Active“.
- Click “Save“.
First: Add a New Employee Asset
- From the main menu, click “Employees” then select “Employee Assets“.
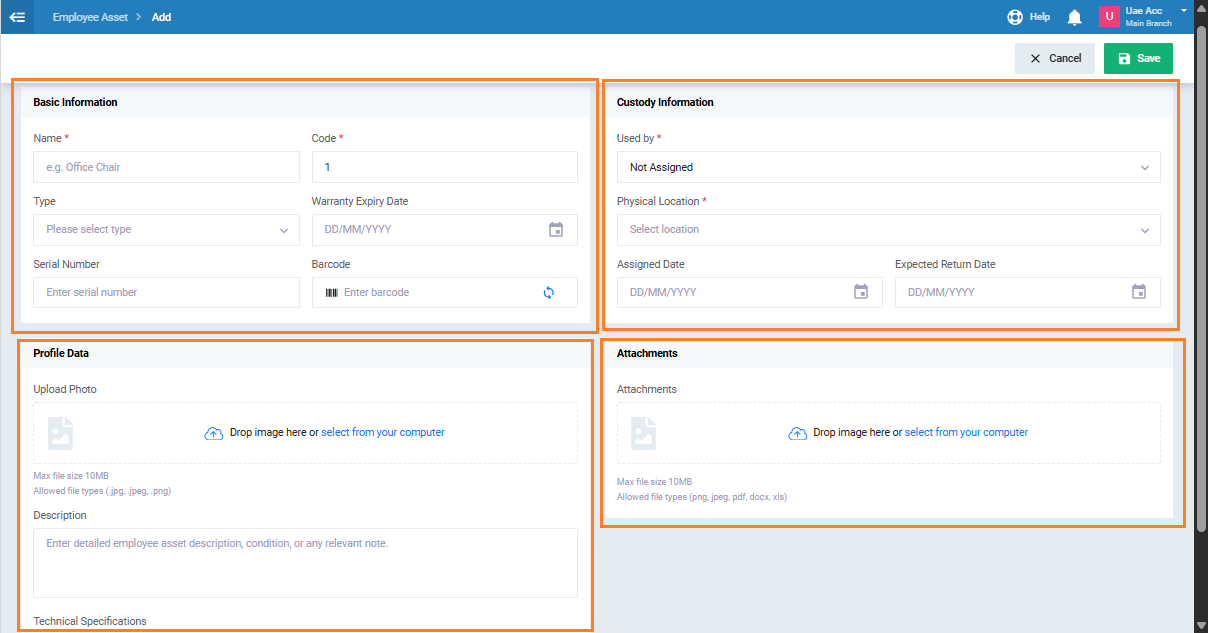
- Click “Add Employee Asset“.
- Select “Create New Asset” from the selection screen.
- Enter the asset details:
- Asset Name
- Asset Type
-
- Serial Number
- Barcode
- Used by: select an employee, warehouse, or leave it unassigned
- Physical Location
-
-
- Description
- Click on the “Save” button.
Second: Link the Asset to an Existing Accounting Asset (Optional)
If you want to link the asset to an existing asset in the Fixed Assets module:
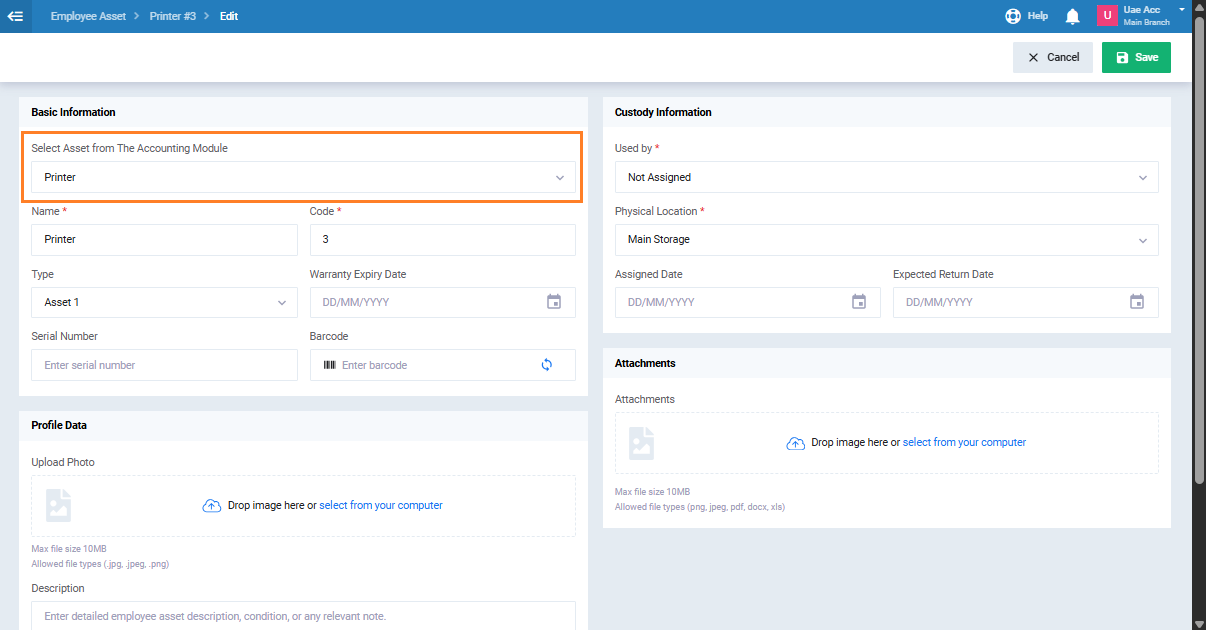
- Click “Add New Asset“.
- Select “Link to Existing Accounting Asset” from the selection screen.
- In the “Select Asset from The Accounting Module” field, search by asset name, code, serial number, or barcode.
- Select the required asset from the search results.
- The asset data is imported automatically from the accounting asset.
- Review and edit the imported data if needed.
- Click on the “Save” button.
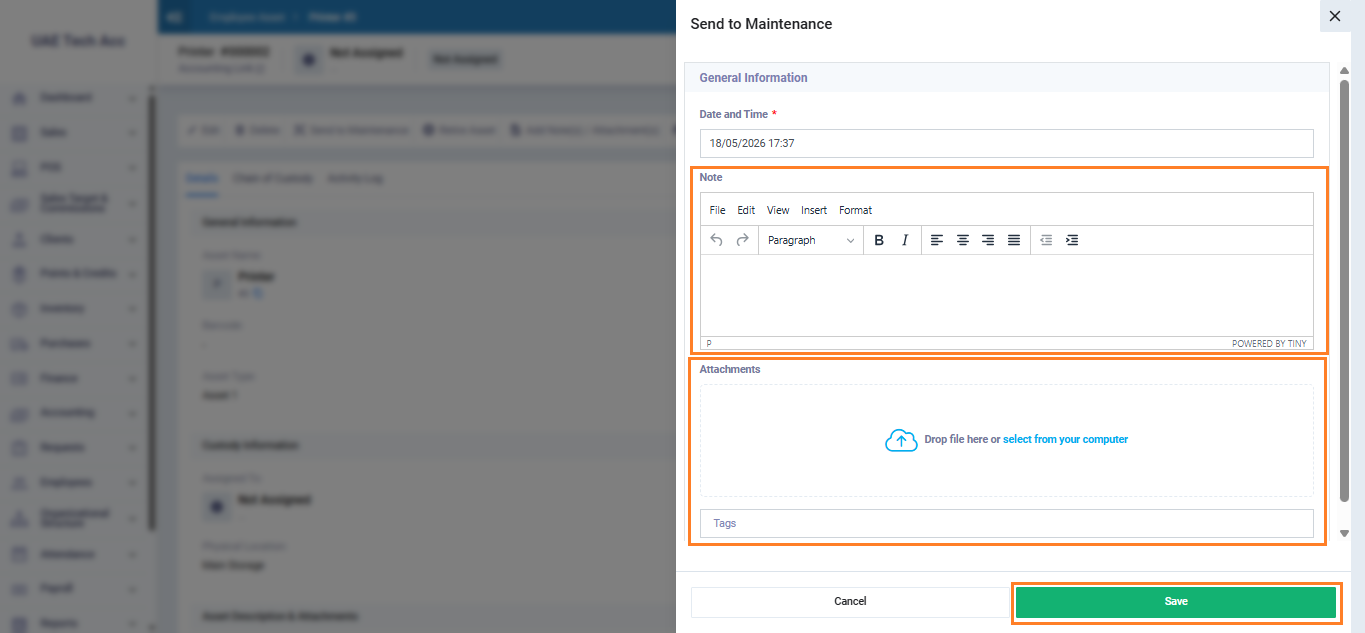
Third: Send the Asset to Maintenance
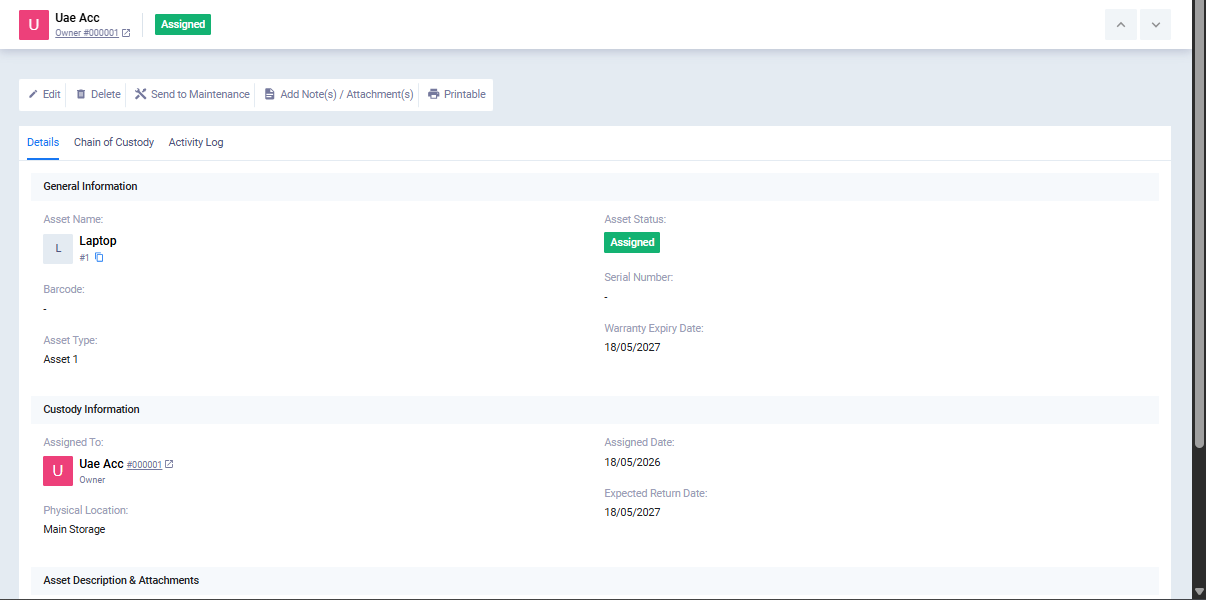
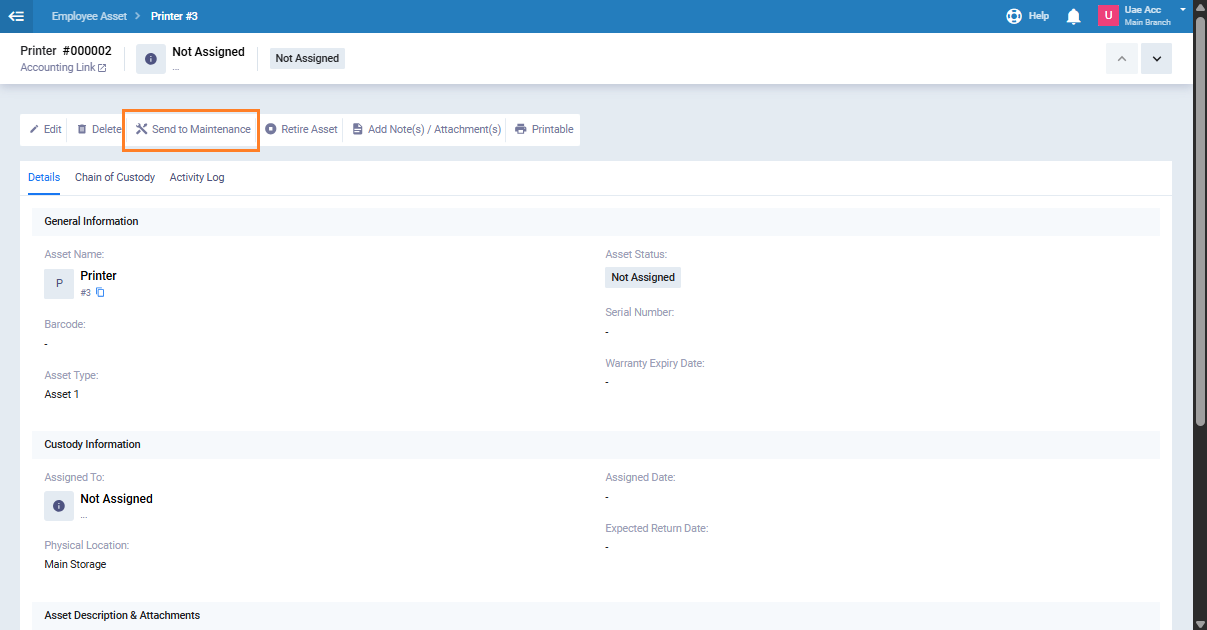
- Open the required asset from the “Employee Assets” list.
- Click “Send to Maintenance“.
- A popup window appears for maintenance details:
- Enter a note explaining the reason for maintenance. (Optional)
- Attach any related documents. (Optional)
- Click “Save“.
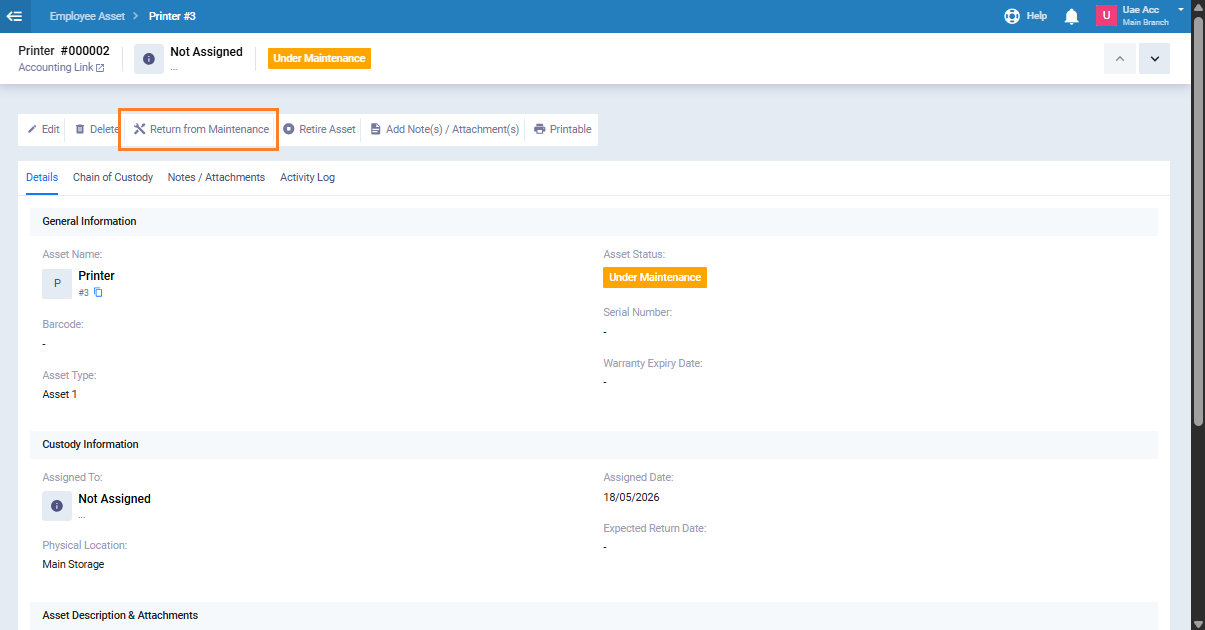
Fourth: Return the Asset from Maintenance
- Open the asset with the status “Under Maintenance“.
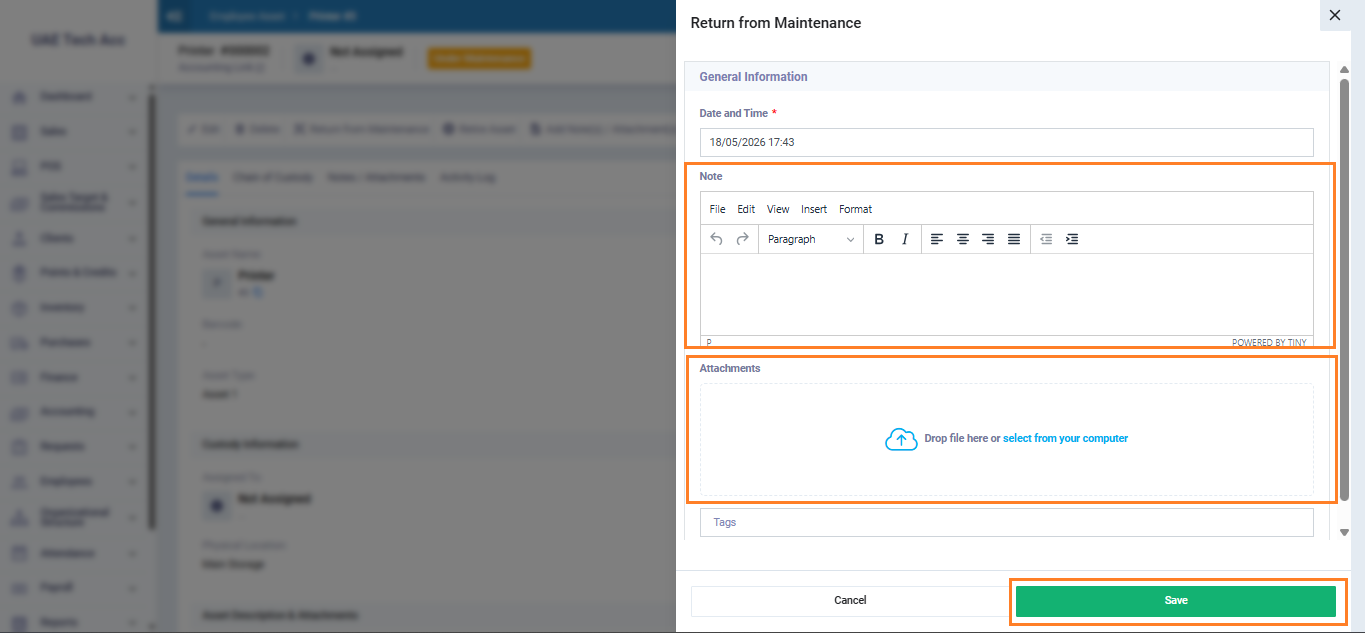
- Click “Return from Maintenance“.
- Enter a note about the maintenance result. (Optional)
- Attach any related documents. (Optional)
- Click “Save“.
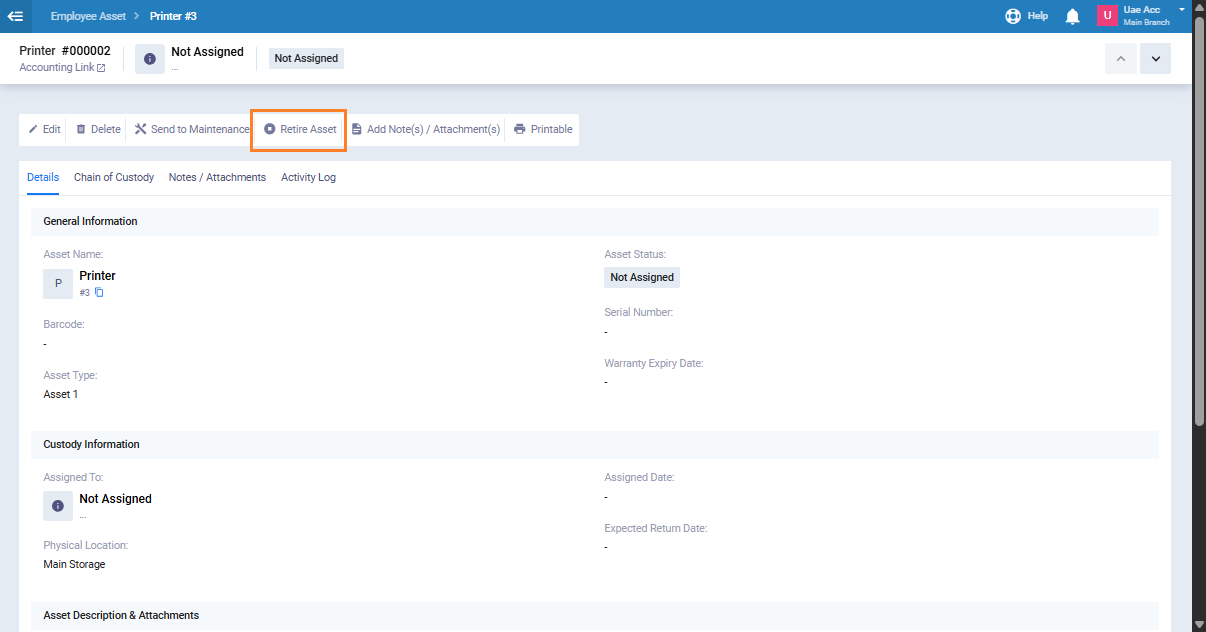
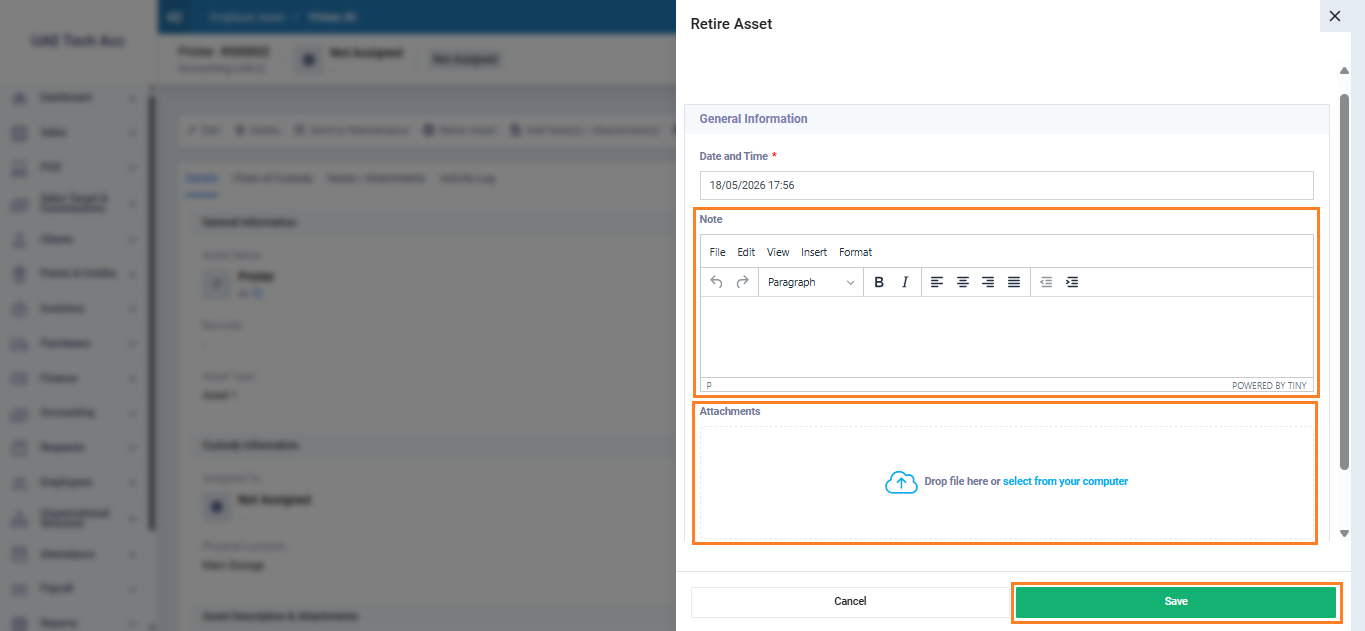
Fifth: Retire the Asset
When the asset is no longer operational, you can retire it:
- Open the required asset from the “Employee Assets list“.
- Click “Retire Asset“.
- Enter a note explaining the retirement reason. (Optional)
- Attach any related documents. (Optional)
- A confirmation message appears — click “Yes” to continue.
To retire an asset, the assignment status must first be Unassigned.
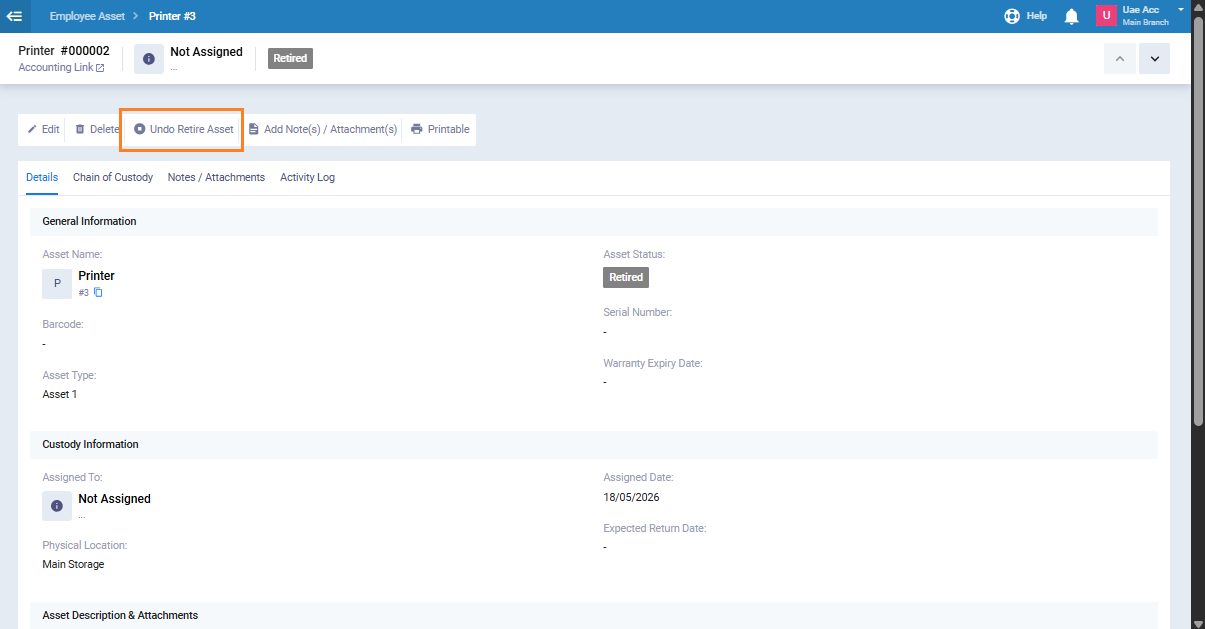
After confirming retirement, the asset status changes to Inactive, and all operational actions on the asset become disabled.
Sixth: Cancel Asset Retirement
If the asset was retired by mistake, you can cancel the retirement and restore it for operational use:
- Open the asset with the status “Retired“.
- Click “Undo Retire Asset“.
- Enter a note explaining the reason for canceling retirement. (Optional)
- Attach any related documents. (Optional)
- A confirmation message appears — click “Yes” to continue.
Asset Statuses and Lifecycle Summary
| Status | Meaning | Available Actions |
|---|---|---|
| Unassigned | The asset exists but is not assigned to any employee or warehouse | Assign to employee, assign to warehouse, send to maintenance, retire |
| Assigned | The asset is assigned to an employee | Send to maintenance, retire, modify assignment |
| In Storage | The asset is stored in a warehouse | Assign to employee, send to maintenance, retire |
| Under Maintenance | The asset is currently under maintenance | Return from maintenance |
| Inactive | The asset is retired and no longer operational | Cancel asset retirement |