


Creating a Sales Invoice for Selling an Asset
If you have an asset that you want to sell, you can record the transaction in an organized way by creating a sales invoice linked to this process. This makes it easier to register revenues and accurately track asset movements within the system.
Sell the Asset
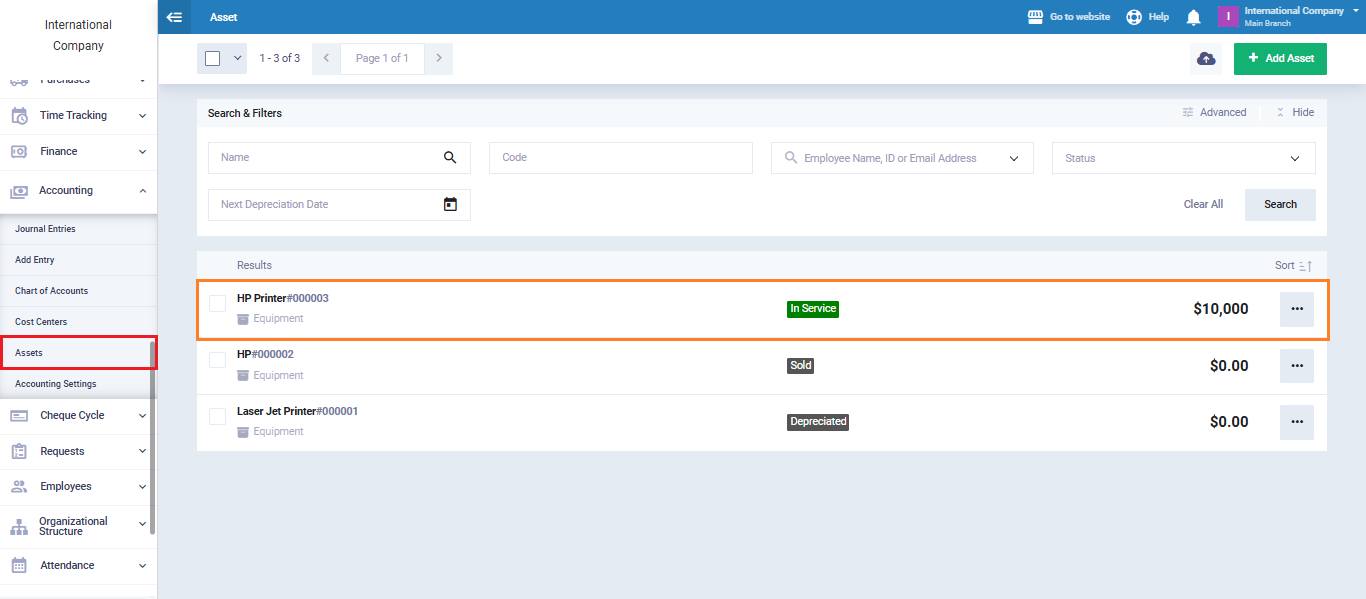
From the main menu, click “Accounting“, then select “Assets“.
From the assets screen, choose the asset you want to sell. Execute the sale to remove it from the list of fixed assets.
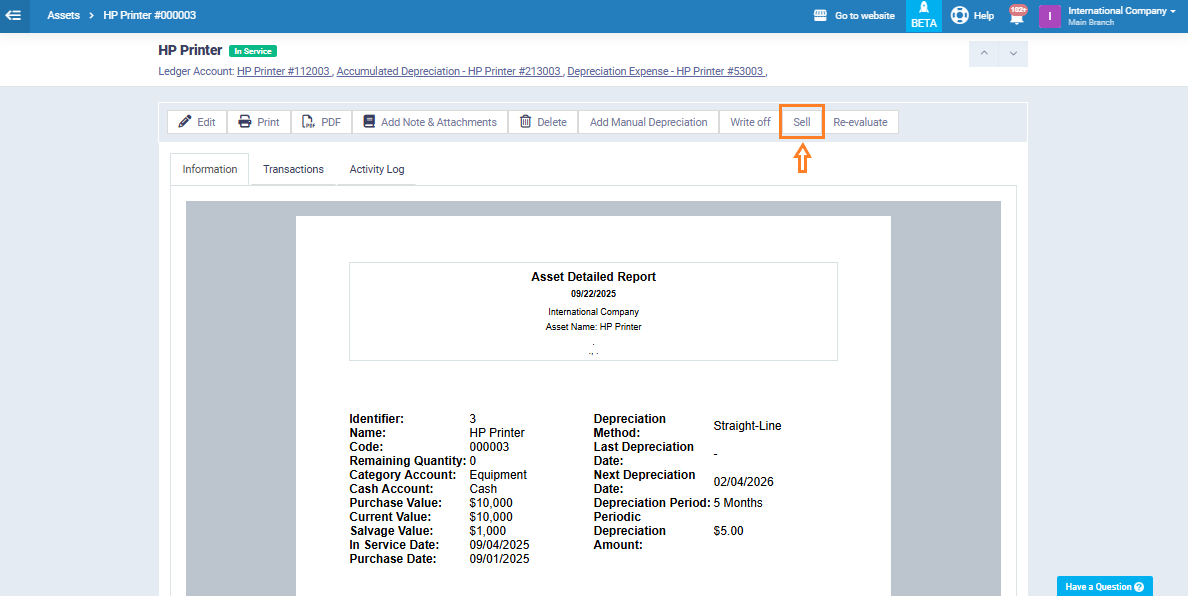
Click on the button “Sell“.
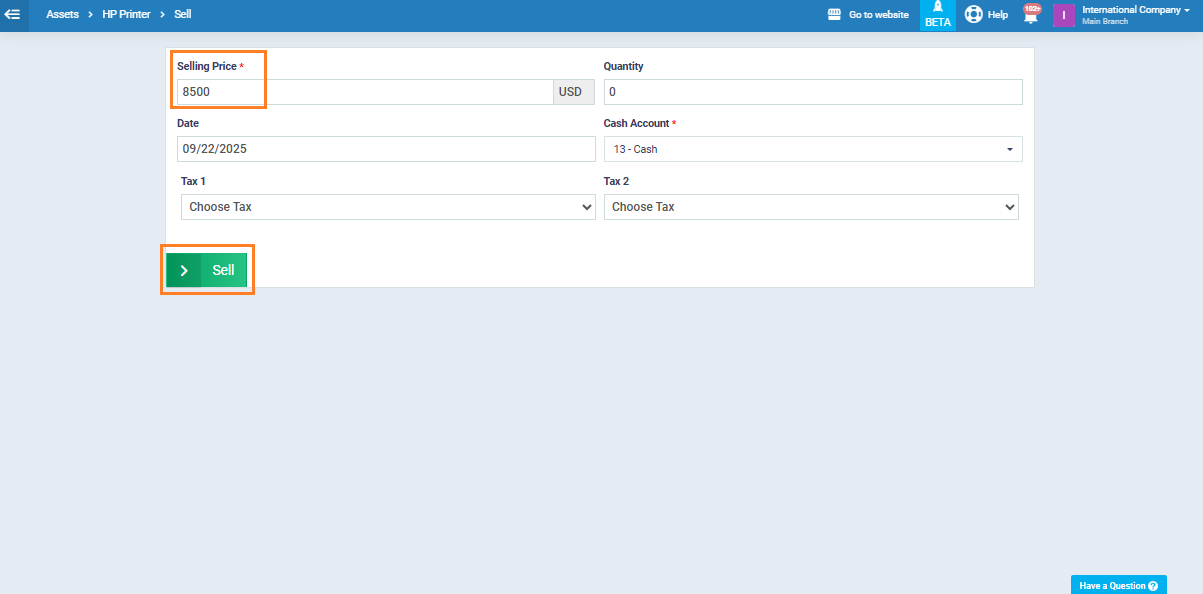
Enter the selling price and the required details, then press “Sell” to complete the transaction.
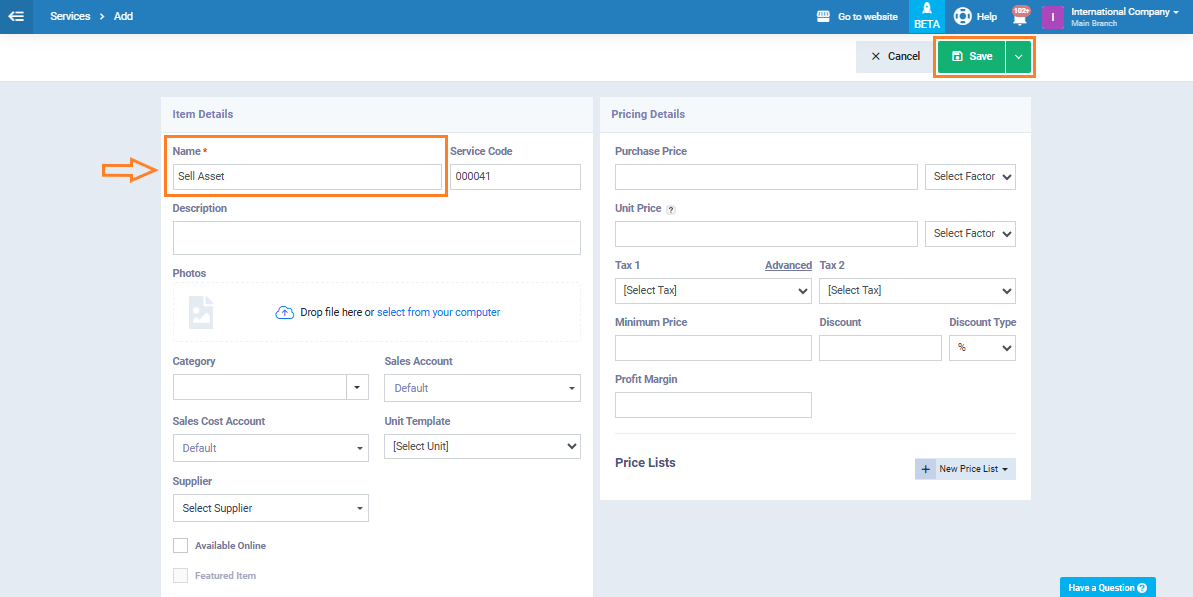
Create a “Sell Asset” Service
The next step is to create a new service inside the system under the name “Sell Asset“. This service will later be used when adding the sales invoice for the asset.
From the main menu, click “Inventory“, then select “Products & Services“.
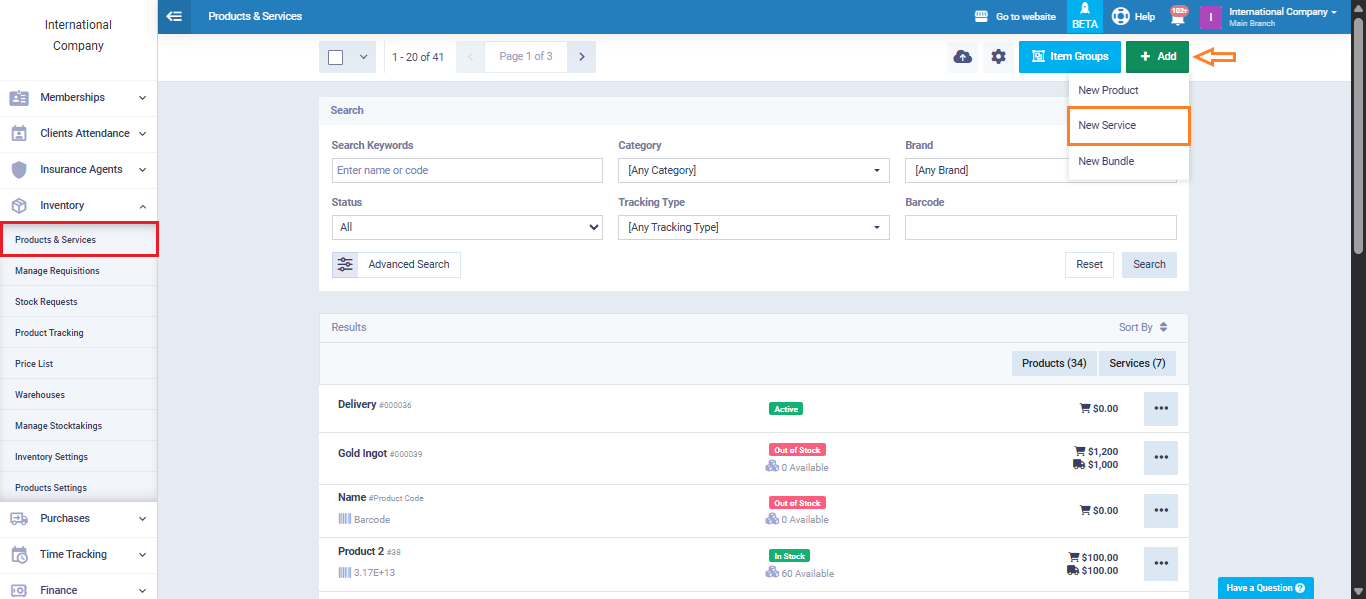
Enter the service name as “Sell Asset“.
Fill in the required details, then click “Save“.
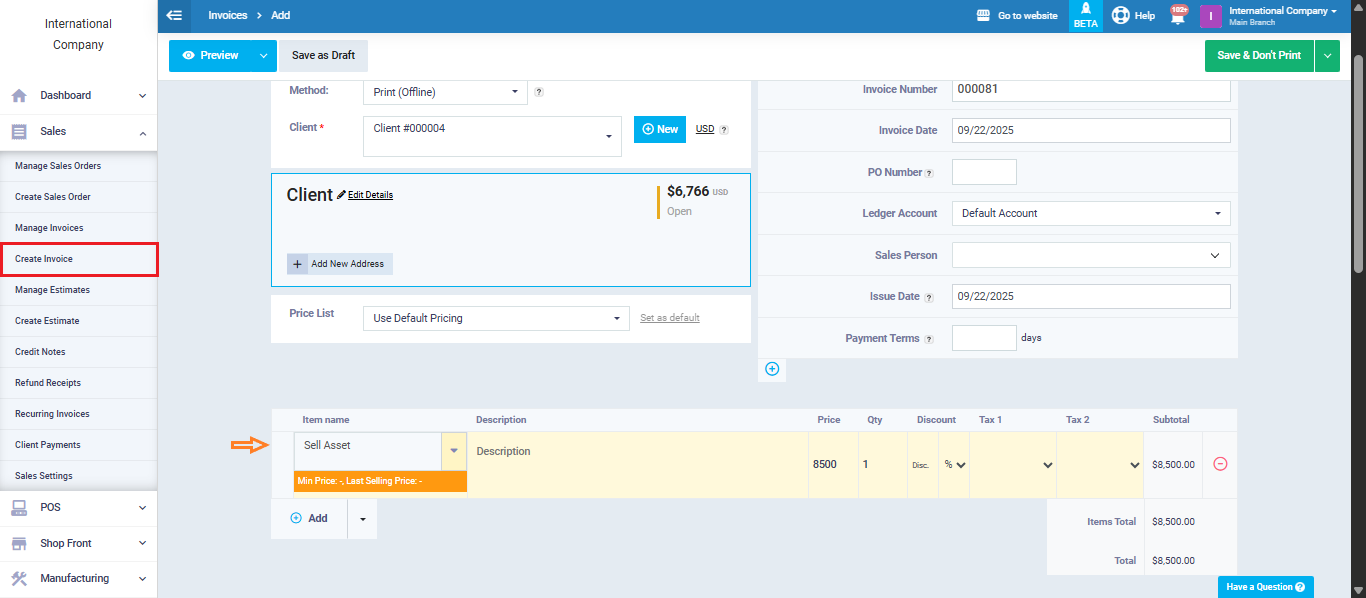
Create a Sales Invoice
Go to the “Sales” menu and select “Create Invoice“.
From the items section, add the service “Sell Asset“. Enter the necessary details such as the client name and the sale value.
Save the invoice.
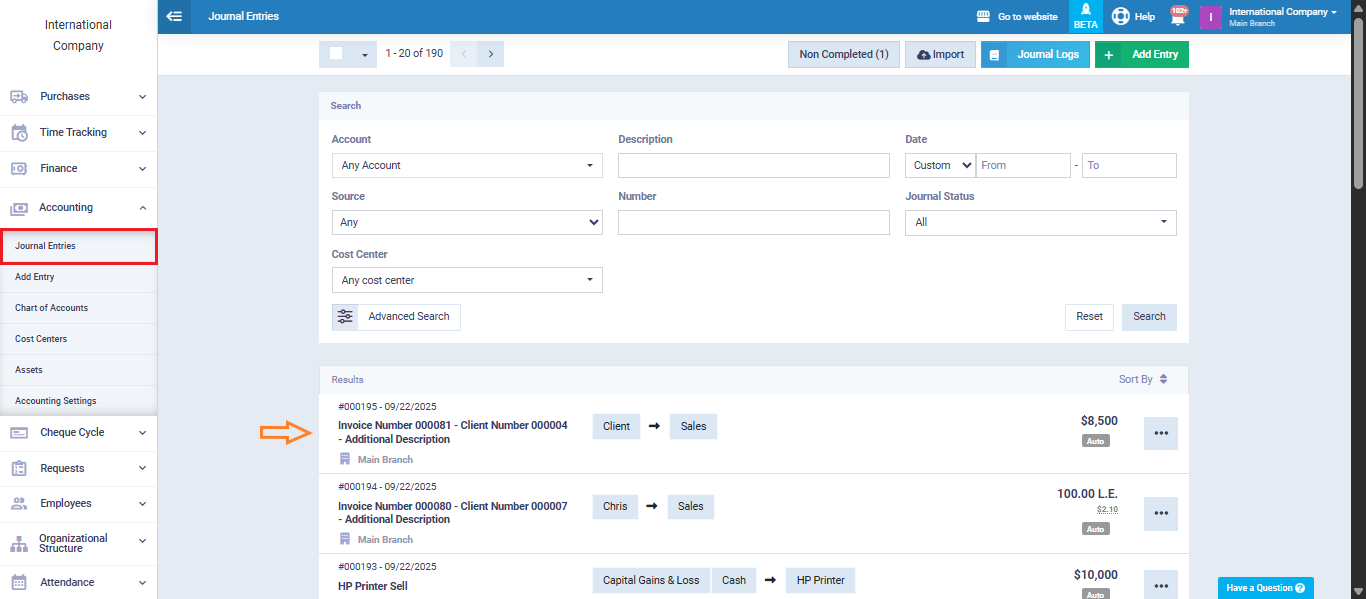
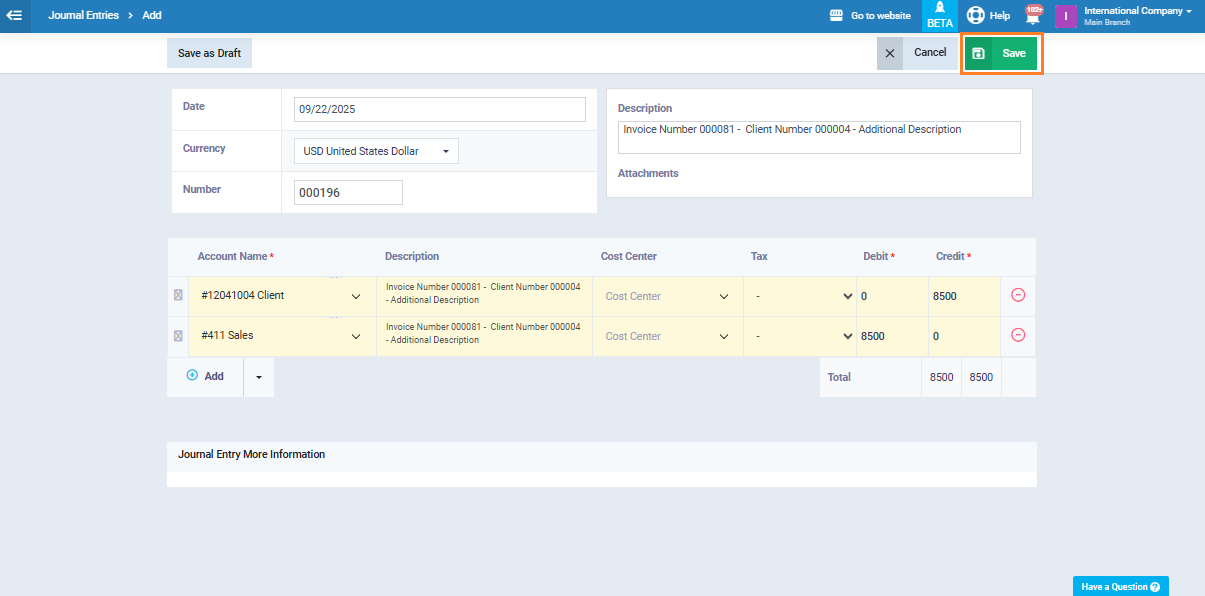
Create a Reversing Entry
After issuing the invoice, the system automatically generates accounting entries.
To ensure accuracy, you need to create a “Reversing Entry” for the entry generated from the sales invoice. This balances out the revenue effect from the asset sale.
From the main menu, click “Accounting“, then choose “Journal Entries“.
Select the entry created by the asset sale invoice.
Click “Clone” at the top of the entry details, then select “Revers Journal Entry“.
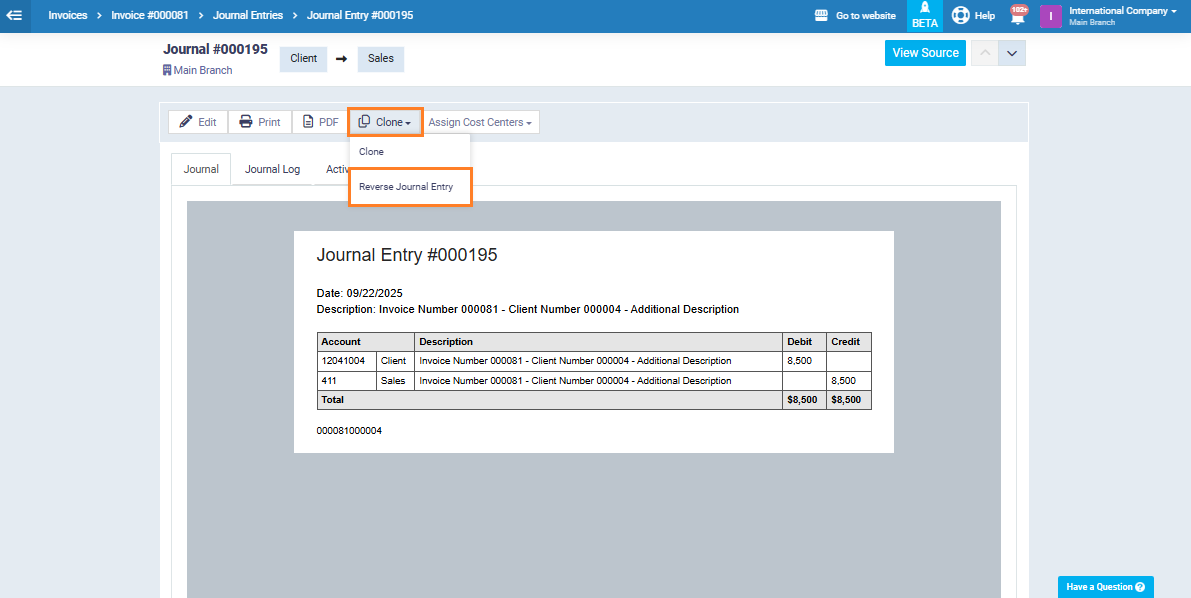
The system will redirect you to the reversing entry page, with all details pre-filled. Simply click “Save“.
By following these steps, you have successfully created a documented sales invoice linked to an asset sale, along with the correct accounting treatment through a reversing entry. This ensures smooth and accurate tracking of both assets and revenues in the system.