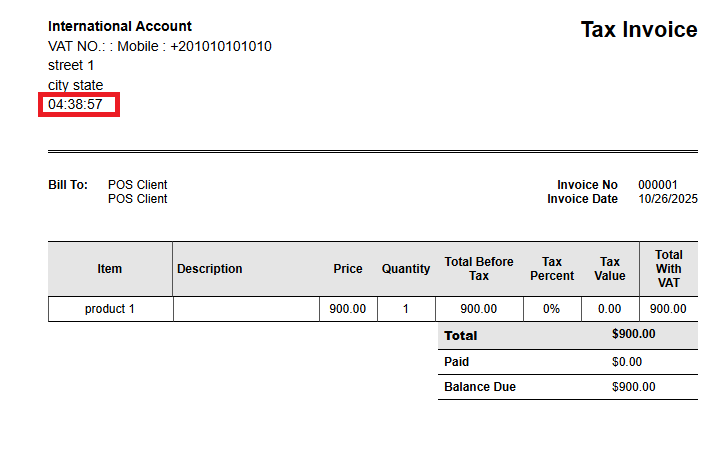
Displaying the Invoice Creation Time and Printing Time in the Printing Layout
In addition to the default invoice layout, the system provides several other layouts that you can use as they are or customize by adding or removing fields or changing the design. In this article, we will review how to control the display of the invoice creation time and print time in the print layout.
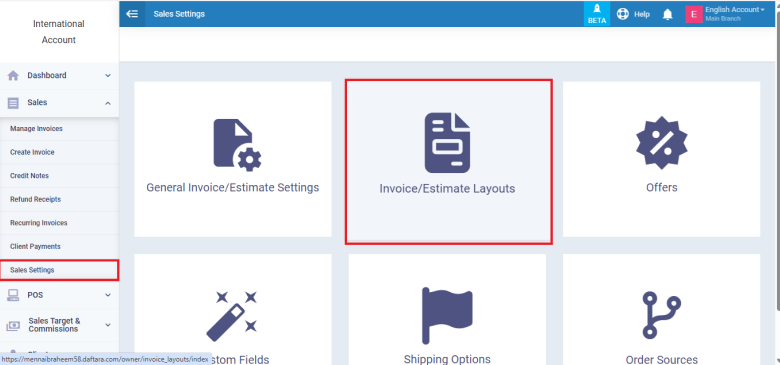
How to Display Invoice Creation Time and Print Time in the Print Layout
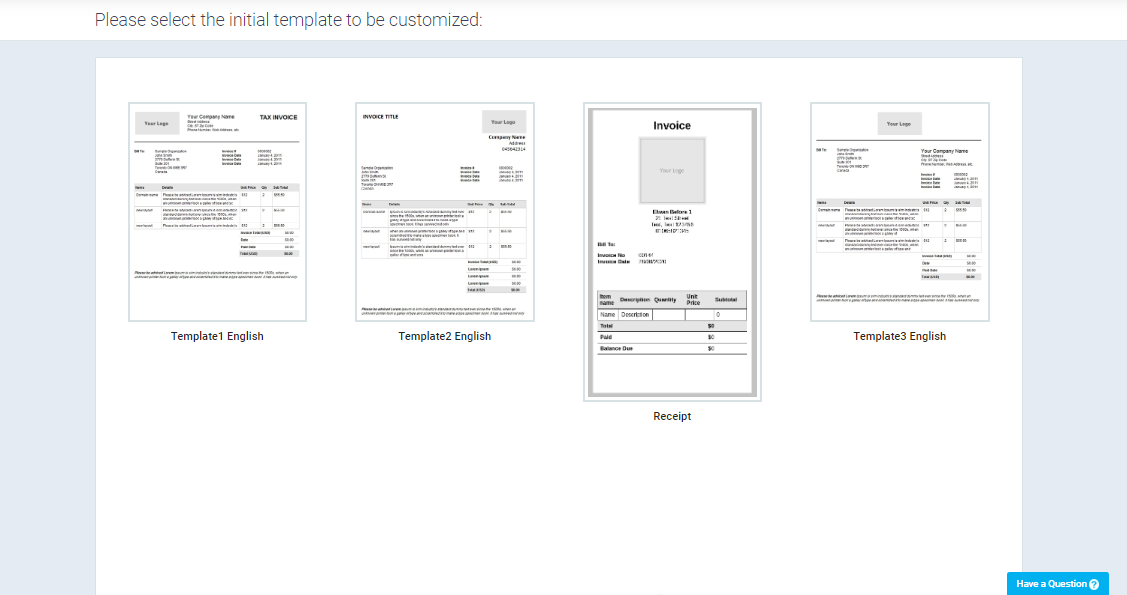
The templates you have already edited will be displayed. You can click on one of them or choose a different layout by clicking on the “New Layout” button.
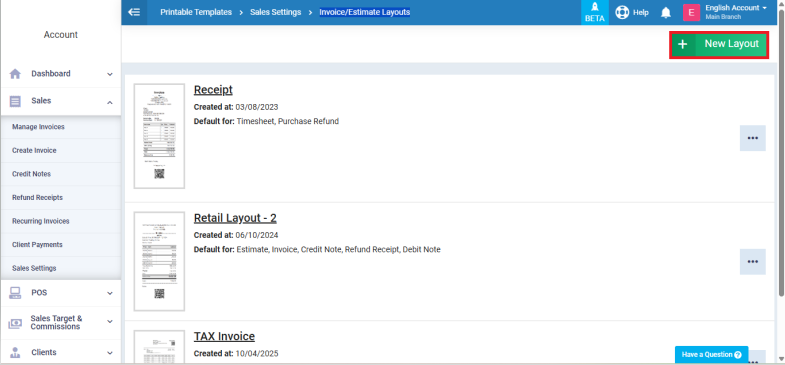
Choose a layout.
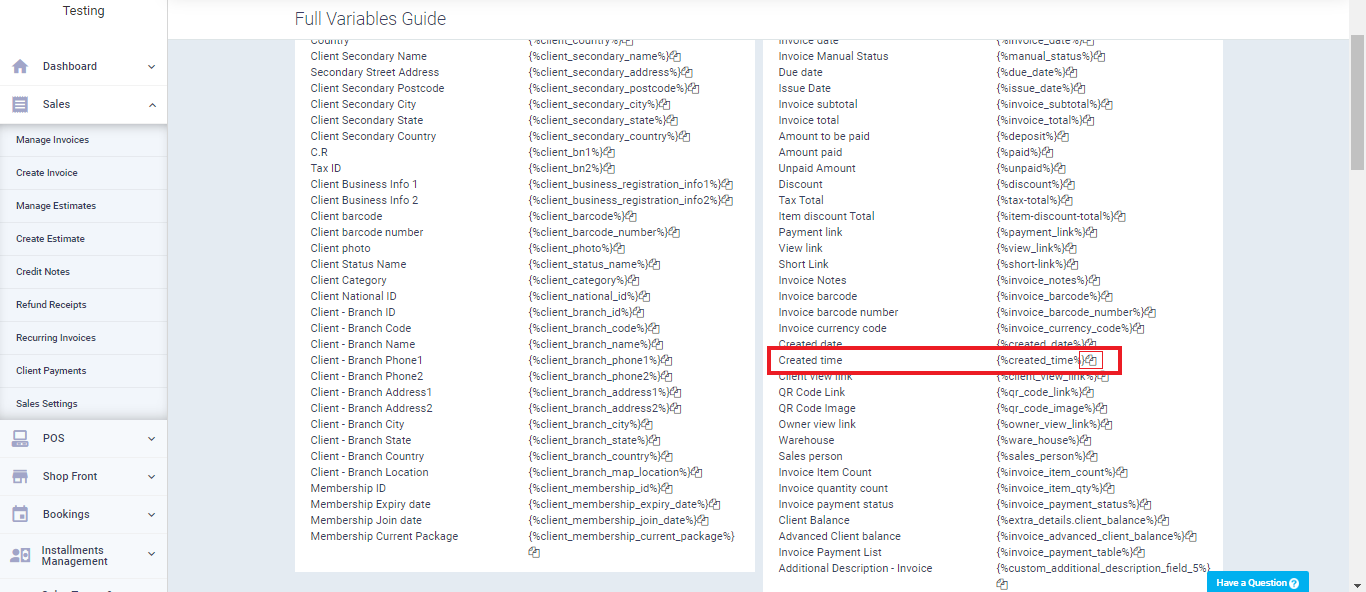
Choose the location where you want to display the invoice creation time or print time from the sidebar or by clicking on this section in the invoice itself. Place the arrow indicator in the location where you want to display the time field, click on the full variable guide, copy the time-specific fields, add them, and then click the “Save” button.
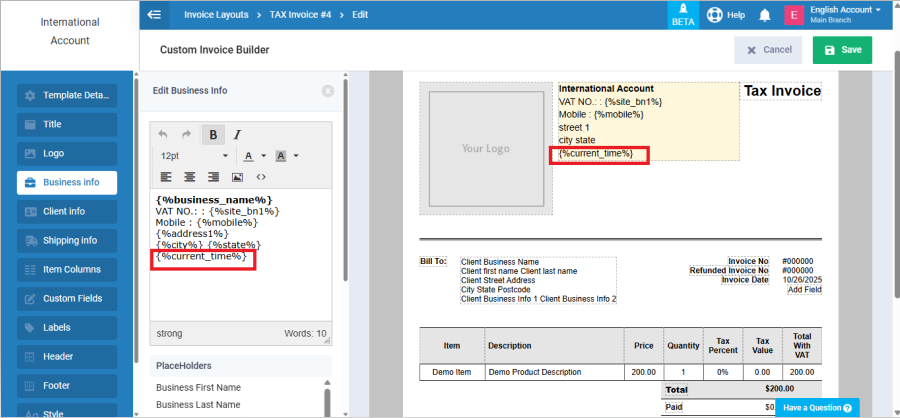
The variable for the invoice creation time is called “Created Time” {%current_time%}